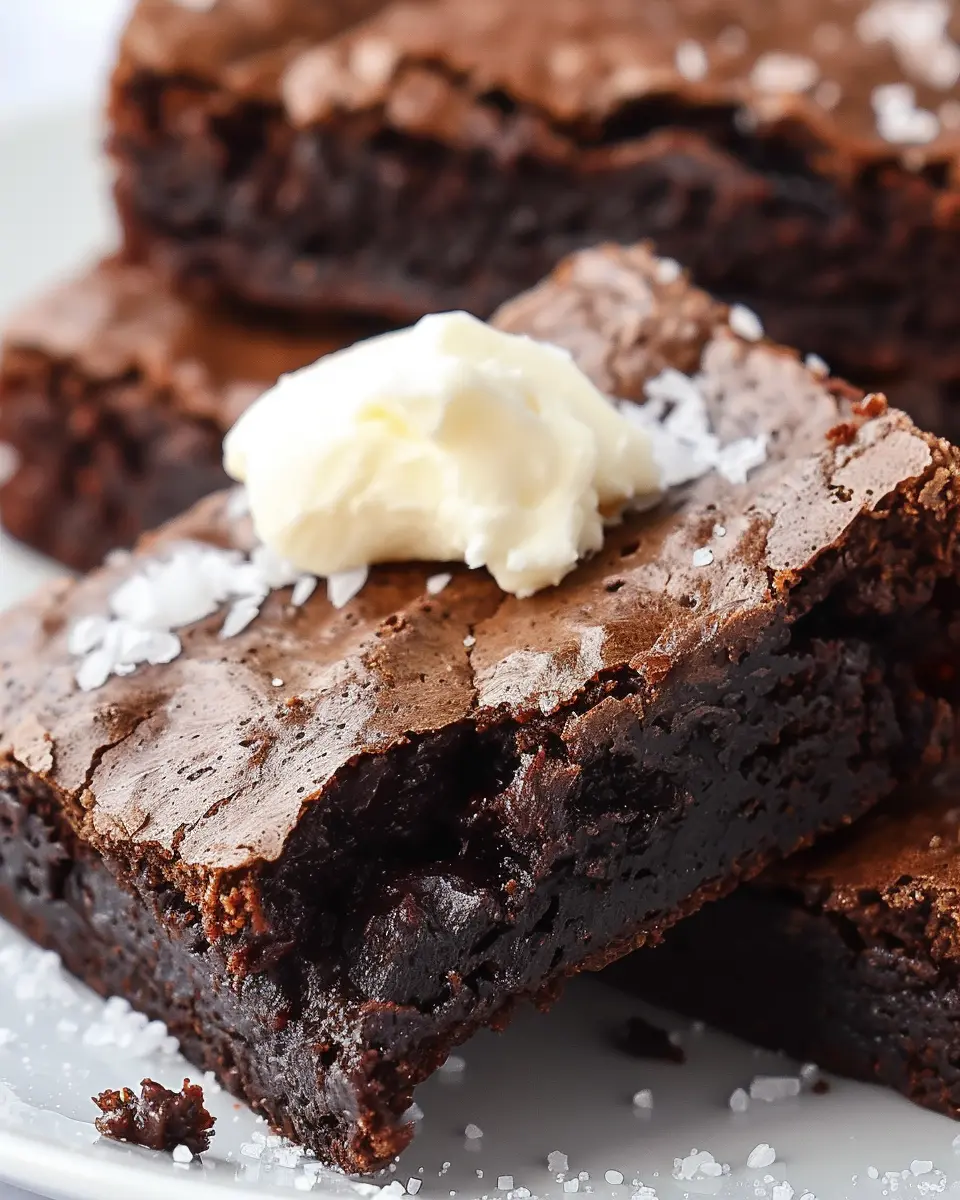
Introduction to Ninja Woodfire Grill Brownies
Why are brownies the ultimate comfort dessert?
There’s just something about brownies that makes them the ideal comfort dessert. Their rich, fudgy texture combined with a slightly crusty top creates a mouthwatering experience that soothes the soul. When you bite into a warm brownie, the sensation is pure bliss. Whether it’s a cozy night in, a celebration with friends, or simply a reward after a long week, brownies seem to bring people together. Fun fact: according to a 2019 survey by Statista, brownies are among the most popular desserts in America, further validating their comfort food status.
The benefits of using the Ninja Woodfire Grill
Now, you might be wondering, why should you use the Ninja Woodfire Grill to make these decadent ninja woodfire grill brownies? This fantastic grilling device brings a whole new level of flavor to your baking. The grill uses woodfire technology, infusing your brownies with a smoky, rich essence that traditional baking methods just can’t replicate.
Some of the standout features include:
- Versatility: The Ninja Woodfire Grill allows you to not only bake but also grill and smoke, so you can get creative with your cooking.
- Convenience: Preheat your grill, and you’re just minutes away from freshly baked goodness.
- Flavor: The combination of woodfire smoke with chocolate delivers a taste sensation that you won’t find in a typical oven.
For more tips on maximizing your experience with the Ninja Woodfire Grill, check out this helpful resource.
Who can make these brownies?
The beauty of ninja woodfire grill brownies is that they’re accessible to everyone! Whether you’re a busy young professional, a novice baker, or someone who’s just looking to impress at a potluck, this recipe is incredibly forgiving and fun to make. With simple ingredients and straightforward steps, you’ll find yourself whipping up these brownies in no time. Plus, you can easily customize the recipe with nuts, chocolate chips, or even a swirl of peanut butter for added flair.
Ready to dive into the world of brownie baking with your Ninja Woodfire Grill? Let’s get started on this delightful culinary adventure!
Ingredients for Ninja Woodfire Grill Brownies
When it comes to whipping up Ninja Woodfire Grill brownies, the right ingredients make all the difference. Here’s what you’ll need to get started.
Essential ingredients from the brownie mix
To achieve that perfect brownie texture, you’ll want to gather the following essentials:
- Brownie mix: Choose your favorite brand, but ensure it’s designed for rich, fudgy brownies.
- Eggs: Typically, two large eggs are enough to bind everything beautifully.
- Oil: Use vegetable oil or melted butter for that indulgent moisture and richness.
- Water: A small amount will help balance the mix and achieve the desired consistency.
These ingredients create the divine base for your brownies, but don’t stop there!
Optional add-ins for extra flavor
Want to elevate your Ninja Woodfire Grill brownies even further? Consider these optional add-ins:
- Chocolate chips: Semi-sweet or dark chocolate chips can take your brownies to a whole new level of decadence.
- Nuts: Walnuts or pecans add a pleasant crunch and nutty flavor.
- Marshmallows: For a gooey, chewy twist, toss some mini marshmallows into the mix.
- Caramel or peanut butter swirls: These can add a delightful surprise in every bite.
Feel free to mix and match these add-ins to create brownies that reflect your unique taste! Remember, you can check out detailed guides on various brownie variations at Baker’s Journal.
With these ingredients at your fingertips, you’re just steps away from deliciously smoky brownies that your friends won’t stop talking about!
Preparing Ninja Woodfire Grill Brownies
There’s something inherently delightful about beautifully baked brownies. When it comes to whipping up a batch of Ninja Woodfire Grill brownies, this versatile grill can change the game. Whether you’re a novice or a seasoned pro in the kitchen, following these detailed steps will yield rich, fudgy goodies that’ll impress your friends and family. Let’s jump right into the preparation!
Preheat the Ninja Woodfire Grill
The first step is crucial: preheating your Ninja Woodfire Grill. You’ll want to set the grill to 350°F (approximately 175°C). This temperature is perfect for creating deliciously gooey brownies. While the grill preheats, it’s a great time to gather your ingredients and tools. To make life easier, ensure you have:
- Unsweetened cocoa powder
- Sugar
- Eggs
- Flour
- Butter
- Vanilla extract
- Baking powder
- Salt
And don’t forget, a mixing bowl and a whisk will do wonders here!
Mix the Brownie Batter
Now that your grill is heating up, it’s time to create that decadent brownie batter. Here’s a simple guide on how to combine your ingredients:
- Melt the Butter: Start by melting about 1/2 cup of butter in a microwave-safe bowl. Allow it to cool.
- Combine Sugar and Cocoa: In your mixing bowl, whisk together 1 cup of sugar and 1/3 cup of cocoa powder. This step really brings out the chocolaty goodness!
- Add Eggs: Once the butter is cool, stir in 2 eggs, one at a time. Mixing well helps to emulsify the batter properly.
- Include Vanilla: Add 1 teaspoon of vanilla extract for that warm, inviting flavor.
- Finish with Flour and Baking Powder: Gradually sift in 1/2 cup of flour and 1/4 teaspoon of baking powder, stirring gently until just combined. Make sure not to overmix; a few lumps are okay!
This is where the magic starts to happen—your batter should be thick and glossy.
Prepare the Baking Pan
Next up, prepare your baking pan, which is vital for that perfect brownie texture. Use an 8×8-inch baking pan for optimal results. Here’s how:
- Grease the Pan: Use butter or a non-stick spray to grease the bottom and sides. This will prevent any sticking and ensure easy removal.
- Line with Parchment Paper (Optional): If you want to ensure effortless brownie removal, consider lining the pan with parchment paper. Just leave some overhang to make lifting them out easier.
Pour the Batter and Set Cooking Time
Now for the fun part—pouring the brownie batter into the prepared pan! Use a spatula to spread it evenly.
- Cooking Time: Close the lid of your Ninja Woodfire Grill and set a timer for about 25-30 minutes. This time may vary based on your specific grill, so it’s important to check for doneness as you approach the 25-minute mark.
Check for Doneness and Cool Before Slicing
Once the timer rings, it’s time to check your brownies! Stick a toothpick or a fork into the center; if it comes out clean or with a few moist crumbs, your brownies are good to go!
- Cooling Time: Let them cool in the pan for about 10-15 minutes before transferring them onto a wire rack. Cooling is crucial; it allows the brownies to set properly, so they don’t crumble when you cut into them.
Once they’re completely cooled, slice them into squares and dig in! The delightful smoky undertones from the Ninja Woodfire Grill will enhance every bite of these indulgent treats.
Making Ninja Woodfire Grill brownies is a fun and rewarding process that you can truly enjoy. Don’t hesitate to add your twist, perhaps some nuts or chocolate chips, for an extra indulgent treat! Happy baking!

Variations on Ninja Woodfire Grill Brownies
When it comes to Ninja Woodfire Grill brownies, the sky’s the limit on how to customize this delicious treat. Let’s dive into some delightful variations that can take your brownies from classic to extraordinary.
Brownies with Nuts for a Crunchy Texture
If you love a bit of crunchiness in every bite, adding nuts is a fantastic way to elevate your Ninja Woodfire Grill brownies. Chopped walnuts, pecans, or hazelnuts not only offer a tasty contrast to the fudgy texture but also introduce healthy fats and protein. Just toss in about a cup of your favorite nuts before baking for an added crunch. Plus, nuts provide fiber and essential vitamins, which makes your treat just a smidge healthier!
Adding Caramel or Peanut Butter Swirls
Imagine biting into a brownie and discovering a rich swirl of caramel or creamy peanut butter — heaven, right? To achieve this, simply drizzle your chosen sauce over the brownie batter and use a knife to create a marble effect. This step not only enhances the flavor but also adds a beautiful visual appeal to your Ninja Woodfire Grill brownies. If you’re feeling adventurous, you can mix almond butter for a nutty flair too. Check out recipes for homemade caramel or peanut butter sauces here.
Gluten-Free Brownie Alternatives
For those who are gluten-sensitive or simply want to try something different, gluten-free brownies are an excellent option. Substitute regular flour with almond flour or oat flour to maintain that rich, dense texture you crave. For some added tips on gluten-free baking, you might find this guide from Healthline helpful. Just remember, adjusting the cooking time may be necessary to achieve that perfect fudgy consistency!
With these variations, you can enjoy a new twist on your Ninja Woodfire Grill brownies every time you fire up the grill. What’s your favorite twist?
Cooking tips and notes for Ninja Woodfire Grill Brownies
Tips for achieving the perfect fudginess
To make your Ninja Woodfire Grill brownies irresistibly fudgy, focus on using high-quality ingredients. Choose rich chocolate with a high cocoa content and don’t skimp on the butter. A common mistake is overmixing the batter; mix just until combined to keep those brownies soft. If you prefer that extra gooey center, consider underbaking them slightly—remove them from the grill when a toothpick comes out with a few moist crumbs.
Grilling at the right temperature
Temperature control is crucial for baking on your woodfire grill. Preheat your grill to around 350°F (175°C) for the best results. An accurate grill thermometer can be a lifesaver—this device ensures you get that perfect even heat.
As a little bonus, using wood chips will not only add flavor but help maintain a consistent temperature. Check out BBQGuys for great tips on mastering your grill. Happy grilling!
Serving suggestions for Ninja Woodfire Grill Brownies
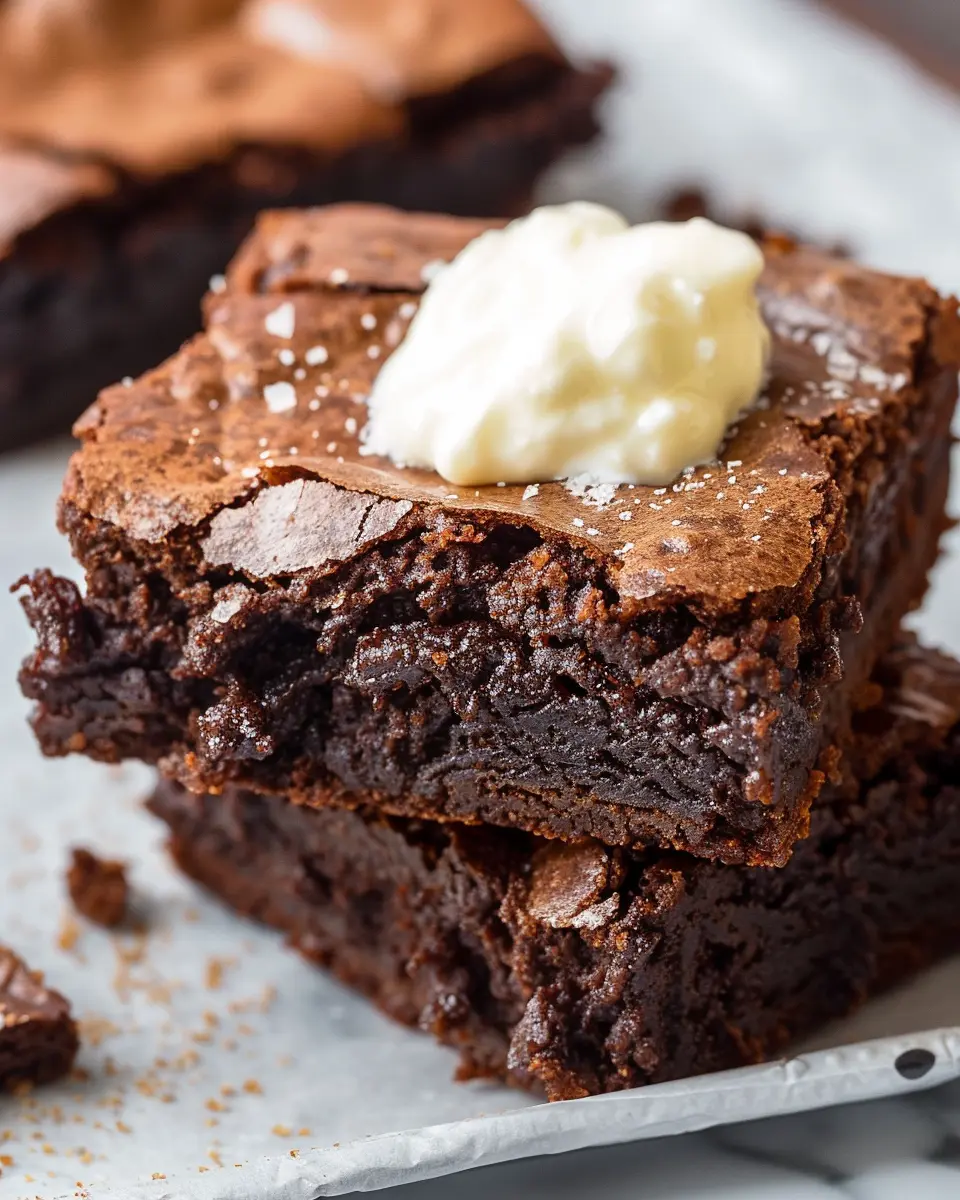
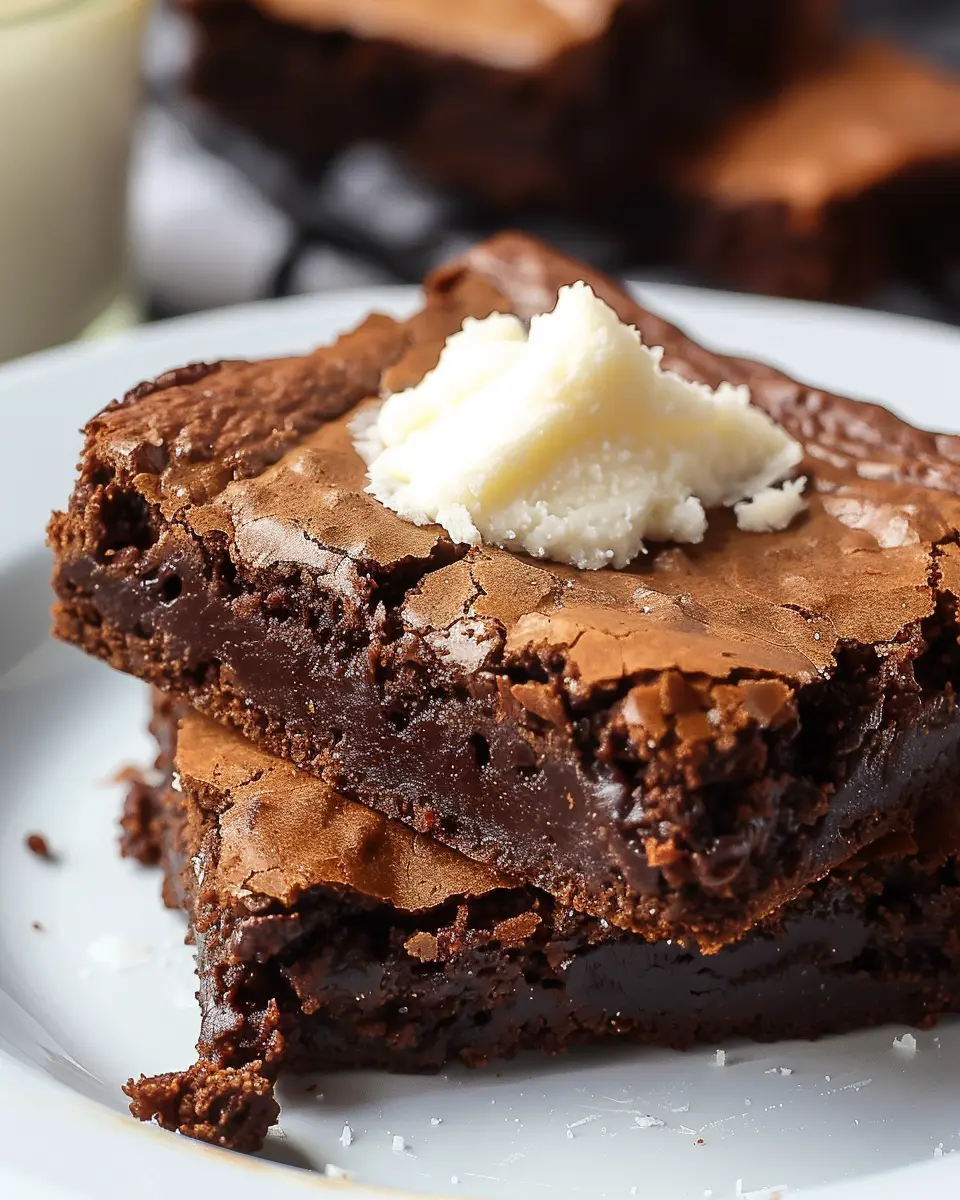
Pairing with ice cream or whipped cream
When it comes to savoring your Ninja Woodfire Grill brownies, serving them with a scoop of vanilla ice cream or a dollop of whipped cream is an absolute game-changer. The warm, fudgy texture of the brownies complements the creaminess of the ice cream perfectly. Consider drizzling some caramel or chocolate sauce on top for an indulgent finish. For an adventurous twist, try pairing your brownies with a scoop of coconut or mint chocolate chip ice cream. Can’t decide? Go ahead and create a brownie sundae with layers of toppings—that’s guaranteed to impress!
Serving with fresh berries
Fresh berries are another delightful way to elevate your Ninja Woodfire Grill brownies. The tartness of strawberries, raspberries, or blueberries creates a beautiful contrast to the rich chocolate flavors. Simply toss some berries with a sprinkle of sugar and let them sit for a few minutes to release their natural juices. Serve them alongside your brownies for a refreshing touch. Add a sprig of mint for an extra pop of color and flavor. This combination not only looks stunning but also gives you a guilt-free way to balance out the decadence of the brownies!
For additional inspiration on delicious brownie pairings, check out resources like Bon Appétit or Food & Wine. These sites are packed with ideas that can turn your simple dessert into a culinary masterpiece!
Time breakdown for Ninja Woodfire Grill Brownies
Preparation time
Getting started is half the fun! For your Ninja Woodfire Grill brownies, you’ll only need about 15 minutes to gather your ingredients and prep your baking dish. It’s quick and effortless, so you can focus on indulging in that rich, chocolatey goodness.
Cooking time
Once you’ve got everything prepped, these brownies will cook for about 20 minutes in your Ninja Woodfire Grill. Keep an eye on them, as cooking times may vary slightly depending on your specific grill settings.
Total time
In total, you’re looking at approximately 35 minutes from start to finish. This means you can have those delicious Ninja Woodfire Grill brownies ready to enjoy in no time! Whether you’re treating yourself, hosting a small gathering, or surprising friends, these brownies are a surefire culinary delight.
If you’re interested in more grill recipes, check out resources like Ninja Kitchen or Serious Eats for additional inspiration.
Nutritional facts for Ninja Woodfire Grill Brownies
Calories per serving
When indulging in Ninja Woodfire Grill brownies, it’s essential to know what you’re treating yourself to. Each brownie typically contains around 150-200 calories, making it a delightful yet guilt-conscious dessert option. If you’re counting calories, consider portion control to enjoy this sweet treat while staying mindful of your daily intake.
Key nutrients to note
These brownies are more than just a sugary pick-me-up. Here are some key nutrients you might find in a serving:
- Fiber: Thanks to added ingredients like nuts or whole-grain flour, each brownie can provide a respectable amount of fiber, aiding digestion.
- Protein: If you incorporate ingredients like nuts or Greek yogurt, you can bump up the protein content, fostering muscle repair and growth.
- Vitamins and minerals: Adding in dark chocolate can also increase your intake of antioxidants and essential minerals.
For more detailed nutritional information, check resources like the USDA National Nutrient Database or consult with a registered dietitian to understand how best to personalize your dessert experience.
Enjoying Ninja Woodfire Grill brownies means you can savor the flavor while still being conscious of your health. So, go ahead and indulge—after all, moderation is the key!
FAQs about Ninja Woodfire Grill Brownies
Can I use homemade brownie recipes?
Absolutely! The Ninja Woodfire Grill brownies are versatile. Feel free to adapt a favorite homemade brownie recipe to work with your grill. Just ensure your recipe yields a thickness compatible with the grill’s heat settings. Depending on the recipe, you may need to adjust cooking time slightly—usually 20-25 minutes works well, but keep an eye on that gooey goodness!
How do I store leftover brownies?
After indulging in those delicious brownies, you might find yourself with some leftovers (if you’re lucky!). To store them, let the brownies cool completely, then wrap them tightly in plastic wrap or place them in an airtight container. You can keep them at room temperature for up to 3 days, or refrigerate them to extend freshness for about a week. Want to save them for later? Just freeze the wrapped brownies for up to 3 months! When you’re ready, let them thaw at room temperature—it’s like a little time capsule of deliciousness.
What if I don’t have a Ninja Woodfire Grill?
No worries! You can still enjoy those rich, chocolatey ninja woodfire grill brownies if you’re using a conventional oven or even an electric grill. For an oven, bake at 350°F (175°C) for similar cooking times. If you’re using a standard grill, you can create indirect heat by placing your brownies on the cooler side of the grill. Don’t forget, either way, keep an eye on them, and remember, the key is in that perfect fudgy texture.
Feel free to explore more about grilling techniques on Grill Masters Club or check out delicious brownie variations on Serious Eats!
Conclusion on Ninja Woodfire Grill Brownies
Recap of why these brownies are a must-try
In review, Ninja Woodfire Grill brownies are not just another dessert; they’re a delightful blend of rich chocolate flavor combined with a hint of smoky goodness, delivering a unique twist on traditional brownies. The grilling process enhances the taste and texture, creating a perfectly fudgy and satisfying treat that’s sure to impress your friends and family. Plus, they’re incredibly easy to make, so even if you’re new to grilling, you’ll be a pro in no time!
Encouragement to get grilling!
So, why not fire up your grill and give these brownies a chance? Not only will you impress your loved ones with your culinary creativity, but you’ll also enjoy a guilt-free indulgence that feels special. Whether for a backyard barbecue or a cozy movie night, Ninja Woodfire Grill brownies are a fantastic addition. Check out Ninja’s official site for more grilling tips and inspiration to elevate your next gathering! Happy grilling!
Ninja Woodfire Grill Brownies: Indulgent Treats for Everyone

Delight in the rich, chocolaty goodness of Ninja Woodfire Grill Brownies that are perfect for any occasion.
- Prep Time: 15 minutes
- Cook Time: 30 minutes
- Total Time: 45 minutes
- Yield: 12 servings 1x
- Category: Dessert
- Method: Grilling
- Cuisine: American
- Diet: Vegetarian
Ingredients
- 1 cup all-purpose flour
- 1 cup granulated sugar
- 2/3 cup unsweetened cocoa powder
- 1/2 cup unsalted butter
- 2 large eggs
- 1 teaspoon vanilla extract
- 1/4 teaspoon salt
Instructions
- Preheat the Ninja Woodfire Grill according to the manufacturer’s instructions.
- In a mixing bowl, combine flour, sugar, cocoa powder, and salt.
- Melt the butter and mix it with the egg and vanilla extract.
- Combine the wet and dry ingredients until well mixed.
- Pour the mixture into a greased baking dish.
- Cook in the grill for approximately 25-30 minutes, or until a toothpick inserted comes out clean.
Notes
- For a gooey texture, slightly underbake the brownies.
- Serve warm with ice cream for a delightful dessert.
Nutrition
- Serving Size: 1 brownie
- Calories: 200
- Sugar: 20g
- Sodium: 150mg
- Fat: 10g
- Saturated Fat: 6g
- Unsaturated Fat: 3g
- Trans Fat: 0g
- Carbohydrates: 28g
- Fiber: 2g
- Protein: 3g
- Cholesterol: 50mg
Keywords: Ninja Woodfire Grill Brownies, brownies, dessert, grilling