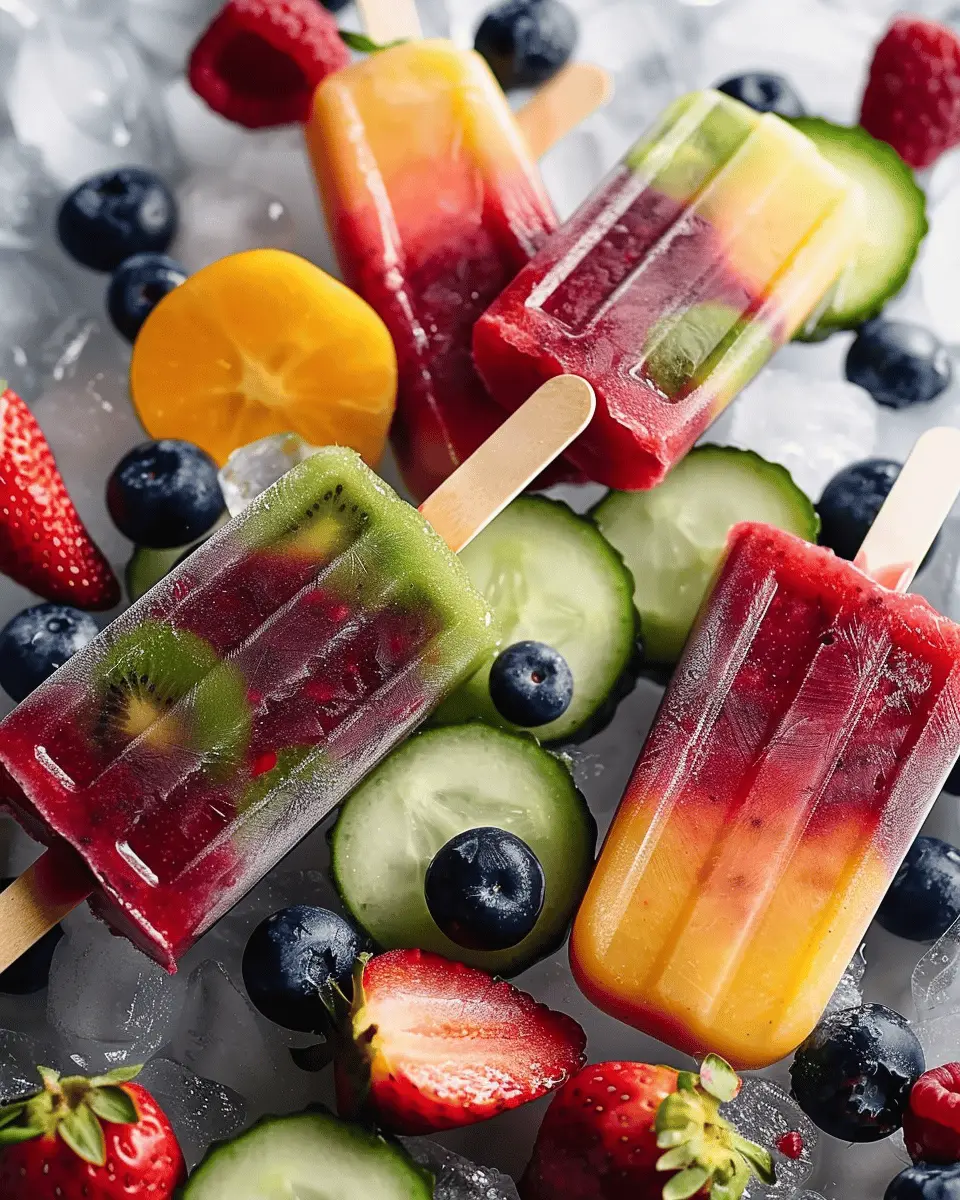
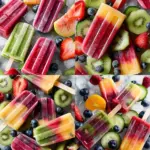
Introduction to Homemade Fruit Popsicles
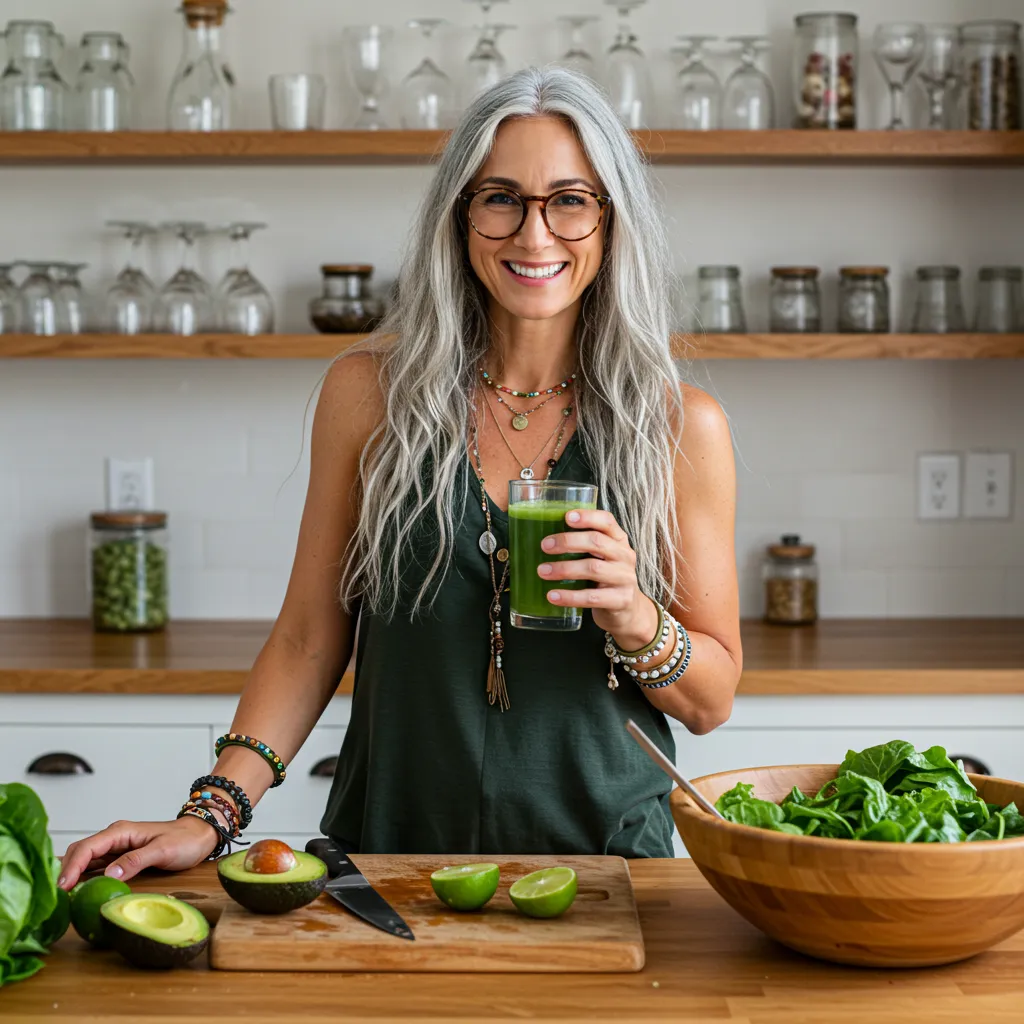
When summertime rolls around, we often find ourselves in search of refreshing treats. Enter homemade fruit popsicles—a delightful and nutritious solution that’s not only easy to make but also customizable to your taste. The great thing about these popsicles is that they let you embrace your creativity while indulging in the natural sweetness of fruits.
Why Homemade Fruit Popsicles are a Game Changer
Let’s face it, store-bought frozen treats can often be loaded with sugar, artificial additives, and preservatives. According to a report by the Centers for Disease Control and Prevention (CDC), sugary snacks and drinks make up a significant portion of the average American’s diet. By making your own popsicles at home, you have complete control over the ingredients used, ensuring that your treat stays fresh and healthy.
Picture biting into a homemade fruit popsicle made from juicy strawberries, luscious mango, or zesty lime—every bite bursting with flavor! You can mix and match fruits to discover some delicious combinations, like combining banana with coconut milk for a tropical twist or pairing peach with yogurt for a creamy texture. The possibilities are nearly limitless.
Plus, making these popsicles is a fantastic way to sneak in some nutrition. Fruits are packed with vitamins, minerals, and antioxidants that can boost your overall well-being. Incorporating fruits into your daily routine, especially in a fun and exciting way, can encourage both you and your friends to eat healthier.
And the best part? You can make them ahead of time in bulk. Simply blend your favorite fruits, pour the mixture into molds, and freeze. While you’re at it, why not involve your friends in the process? It’s a great way to bond over healthy eating. Need some inspiration? Check out some fruit combination ideas from Healthline or BBC Good Food for unique flavor pairings!
So why not grab some ripe fruits from your local market, and let’s dive into the world of homemade fruit popsicles? It’s a delicious way to celebrate the season while keeping your health in mind!
Ingredients for Homemade Fruit Popsicles
Essential ingredients for tasty popsicles
Creating your own homemade fruit popsicles is not only simple but also fun! Start with these essential ingredients to ensure your popsicles are both delicious and healthy:
- Fresh or frozen fruit: Strawberries, mangoes, and blueberries are fantastic options. They provide natural sweetness and vibrant color.
- Liquid base: Use 100% fruit juice, coconut water, or yogurt for added creaminess and flavor.
- Sweetener (optional): If your fruit isn’t sweet enough, consider a dash of honey or agave syrup. Just remember, less is more!
These ingredients create a wholesome popsicle that you can feel good about enjoying.
Optional ingredients for fun variations
Feel adventurous? Here are a few optional ingredients to take your homemade fruit popsicles to the next level:
- Herbs and spices: Mint, basil, or even a pinch of cinnamon can add an exciting twist.
- Add-ins: Consider adding chia seeds for extra nutrients or yogurt for a creamy texture.
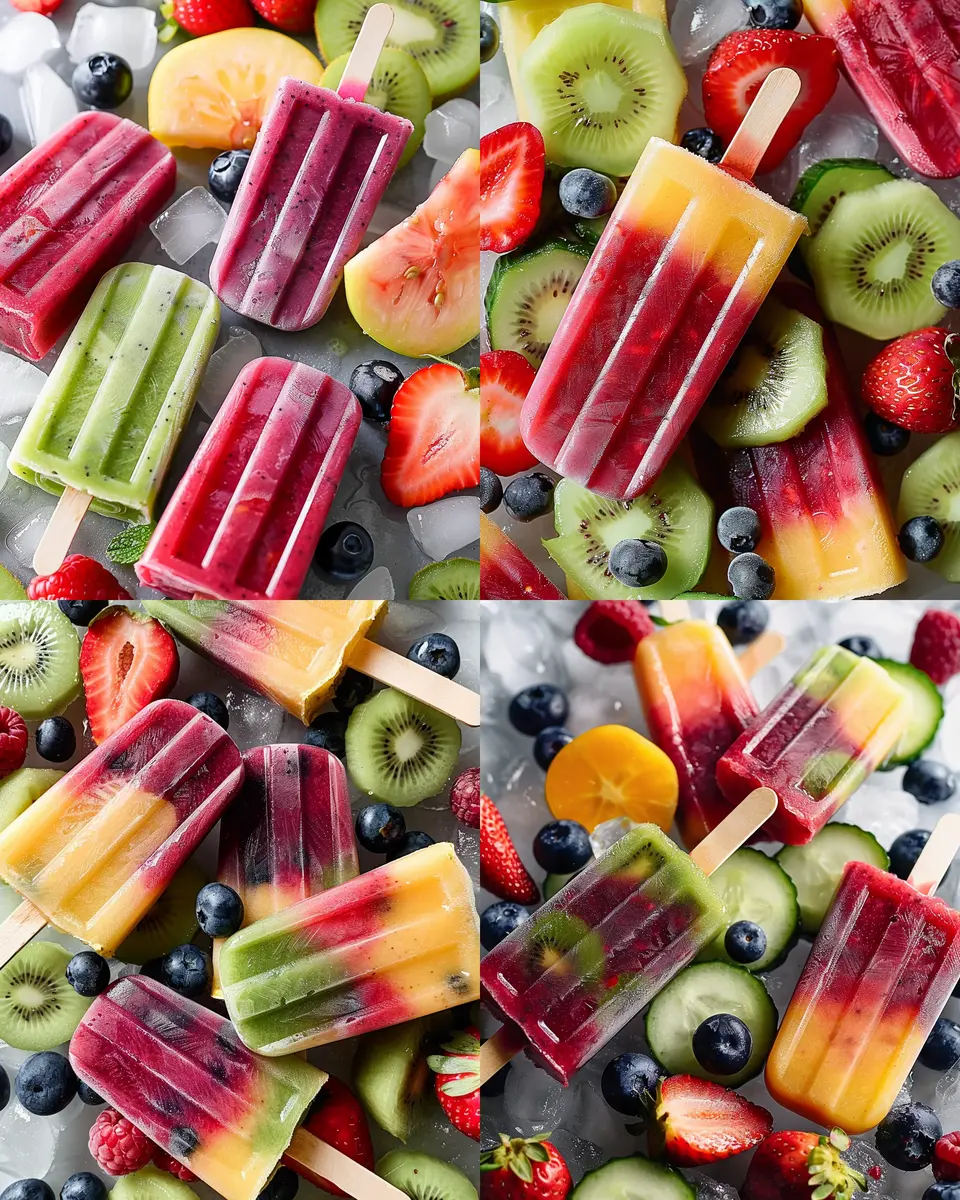
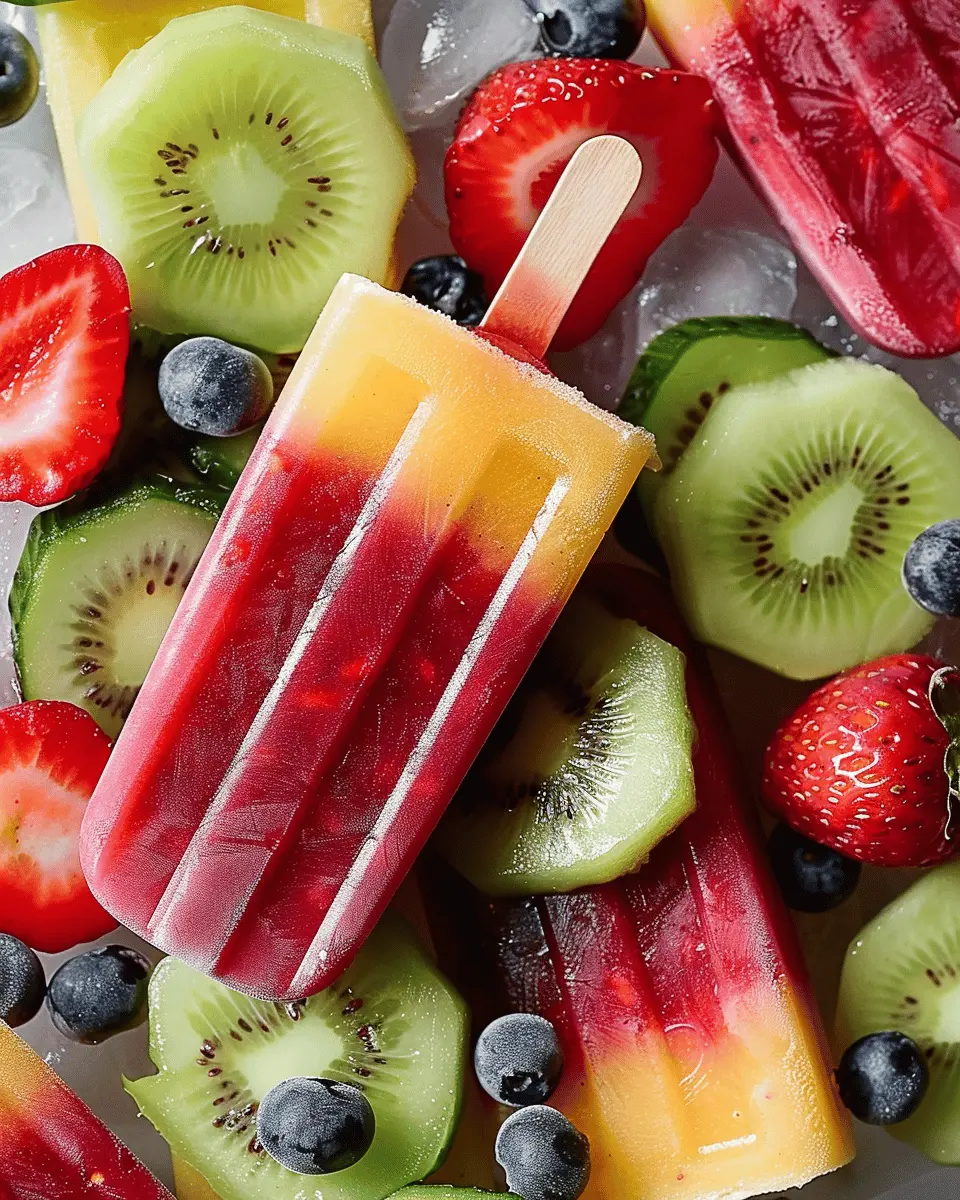
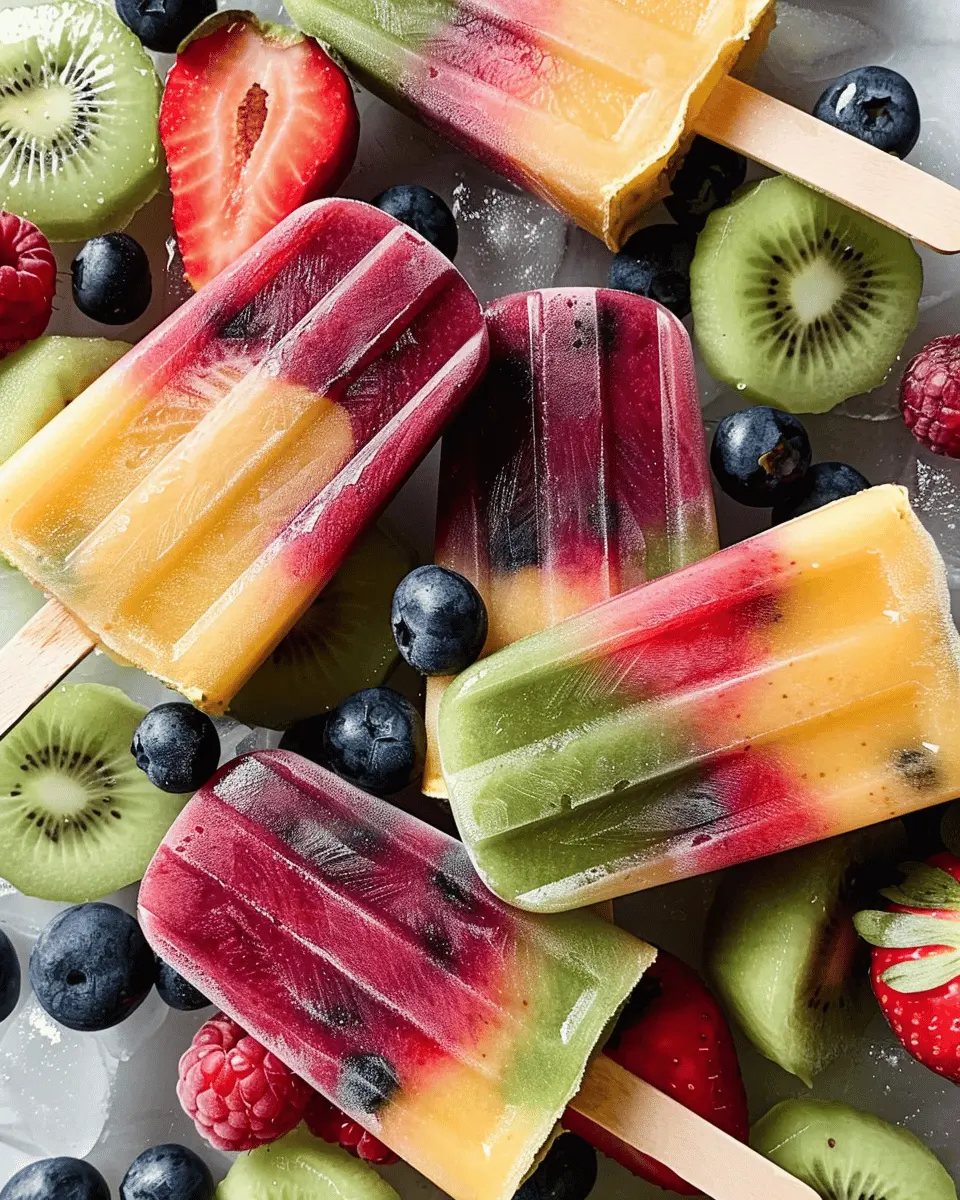
- Layering flavors: Combine layers of different fruit purees for a colorful, visually appealing treat.
Feel free to experiment! You can find more great ideas and tips for flavor combinations at sites like Food Network or Bon Appétit. Your kitchen is the limit!
Step-by-Step Preparation of Homemade Fruit Popsicles
Making homemade fruit popsicles is not only a fun activity but a brilliant way to enjoy fresh fruit in a delicious, frozen treat. Whether you’re looking for a mid-summer snack or a way to cool down after a workout, these popsicles are incredibly refreshing. Follow these simple steps to create your own!
Prepare the Fresh Fruit
Start by selecting high-quality, fresh fruits. Think about seasonal options, as they’ll be at their peak flavor. Fruits like strawberries, blueberries, watermelon, and mango are perfect choices.
- Wash and chop: Thoroughly wash each fruit under cold water. Remove any stems or pits, then cut them into smaller pieces for easier processing.
- Key Tip: If you’re using harder fruits, such as apples or pears, consider softening them by briefly blending them with a splash of juice or water before proceeding to the next steps.
For more guidance on selecting fresh fruits, check out this helpful article from the Fruits & Veggies Media Campaign.
Choose Your Popsicle Style: Chunky vs. Smooth
Deciding on the texture of your homemade fruit popsicles is crucial—will you go for chunky bites or a smooth, creamy blend?
- Chunky: For a refreshing bite, keep your fruit pieces larger. A mix of whole or halved berries looks visually appealing and gives a delightful texture.
- Smooth: If you prefer a more uniform pop, blend the fruit into a puree. This is great for those who like a sleek, creamy finish or for using fruits that don’t hold their shape well in the freezing process.
Layer Fruit or Blend for the Base
With your fruit ready, it’s time to think about layering or blending:
- Option 1: Layering: If you’re going for a more aesthetic appeal, pour some blended juice into the molds, then add chunks of fruit, and top off with more juice. This creates stunning visual layers and excitement in every bite.
- Option 2: Blending: For a consistent taste, toss all your fruit into a blender along with a little juice or coconut water for hydration. Blend until smooth, then pour into molds.
Consider experimenting with flavors by mixing fruits! For example, a mango-strawberry blend offers vibrant colors and delicious taste.
Add the Juice to the Molds
Once you’ve prepared your fruit base, it’s time to fill those popsicle molds.
- Select your molds: Choose traditional popsicle molds or even small cups with wooden sticks for a DIY approach.
- Pour carefully: Fill each mold about three-quarters full to allow for expansion as ice forms. If you’d like to sweeten the deal, consider adding a splash of honey or agave syrup before pouring in your fruit blend.
Expert tip: Adding a squeeze of lime juice can elevate the flavors!
Insert Sticks and Freeze the Popsicles
Now that the molds are filled, insert the sticks into each one. If you’re using traditional molds, this is straightforward; simply slide the sticks in until they’re secure.
- Freeze: Place the molds in the freezer and let them sit for at least 4 to 6 hours. To prevent any accidents, you may want to keep them upright in the freezer to avoid spills.
- Tip for easy removal: If you’re having trouble removing the popsicles from the molds, run warm water over the outside of the mold for a few seconds to loosen them.
Once frozen, savor the satisfaction of enjoying your very own homemade fruit popsicles. Share them with friends or keep them all to yourself—you deserve it! Embrace creativity and customize your popsicles with various fruits and juices for endless flavor combinations.
For further tips on storing your popsicles, feel free to check out this guide from Good Housekeeping.
Dive into this delicious experience—your taste buds will thank you!
Variations on Homemade Fruit Popsicles
Making homemade fruit popsicles offers a delightful canvas for creativity! Here are some fun variations to try that not only taste amazing but also incorporate a range of fruits.
Tropical Fruit Popsicles
Ready to escape to a beachy paradise? Tropical fruit popsicles are your ticket! Combine ripe mangoes, coconut milk, and a splash of pineapple juice for a refreshing, creamy treat. Simply blend the ingredients until smooth, pour into molds, and freeze. Bonus tip: add chunks of fresh pineapple for added texture! For inspiration on fruity combinations, check out this resource for tropical fruit ideas.
Berry Smoothie Popsicles
If you’re a berry lover, these homemade fruit popsicles are just for you! Blend a mix of strawberries, blueberries, and raspberries with Greek yogurt and honey for a protein-packed option. Pour into molds, and pop in your favorite sticks before freezing to create a smoothie-like delight on a stick! Customize with spinach or kale for additional nutrients without compromising flavor.
Creamy Yogurt Fruit Popsicles
For something a little more indulgent, try creamy yogurt fruit popsicles. Mix your favorite yogurt – Greek or regular – with diced fruits such as peaches or cherries, and add a drizzle of honey for sweetness. These popsicles are rich and satisfying, perfect for a warm afternoon snack. Remember, you can always experiment with plant-based yogurts if you prefer dairy-free options!
Whichever way you choose to mix it up, homemade fruit popsicles are a delicious way to enjoy nature’s candy. Let your imagination run wild and share your unique flavor creations!
Cooking Tips and Notes for Homemade Fruit Popsicles
Tips for Selecting Ripe Fruit
When making homemade fruit popsicles, choosing the right fruit is essential for the best flavor and texture. Here’s how to pick perfectly ripe fruit:
- Check for firmness: Ripe fruit should give slightly under gentle pressure but not be mushy.
- Look for color: Vibrant, rich colors typically indicate flavor and sweetness. For example, a deep red strawberry or a golden mango signals ripeness.
- Smell it: A sweet aroma can be a tell-tale sign that the fruit is ready to shine in your popsicles.
For more tips on selecting fresh fruit, check out this resource.
Storing Leftover Popsicles
Once you’ve mastered the art of making those delicious homemade fruit popsicles, you’ll want to ensure they stay fresh. Here are some tips for storing them:
- Wrap individually: To prevent freezer burn, wrap each popsicle in plastic wrap or place them in an airtight container.
- Label and date: Keeping track of when you made them ensures you enjoy them at their best flavor.
- Use within a month: While they can last longer, for the best quality, consume them within 4 weeks.
With these tips, you’re all set to create, enjoy, and store your homemade fruit popsicles with ease!
Serving Suggestions for Homemade Fruit Popsicles
Perfect Pairings for Your Popsicles
When it comes to enjoying your homemade fruit popsicles, think beyond just the pops! Pair them with light snacks like yogurt dips or fresh fruit salads to elevate your treat. You might even consider adding a sprinkle of chopped mint for a refreshing zing.
If you’re serving these at a summer gathering, how about some crunchy tortilla chips with guacamole? The blend of tart pops and creamy avocado can be a delightful contrast. And for a fun touch, why not serve your popsicles with coconut water or sparkling lemonade? Both options offer a hydrating and invigorating sip that balances the sweetness of your pops!
Creative Serving Ideas for Summer Gatherings
Presenting your homemade fruit popsicles can be a playful affair! Try creating a colorful popsicle platter, arranging your pops in a cheerful way to entice your guests. Alternatively, freeze the pops in cute molds and serve them in clear cups for an adorable treat.
For a unique twist, consider incorporating a DIY popsicle bar. Offer various toppings like shredded coconut, chopped nuts, and sprinkles, encouraging your friends to customize their own pops. It’s a fun way to let creativity shine, and think of the Instagram-worthy snaps you’ll capture!
Feeling inspired? Explore more creative ideas at Bon Appétit for serving popsicles. Enjoy!
Time Breakdown for Homemade Fruit Popsicles
When you’re ready to dive into making homemade fruit popsicles, it’s good to know how to manage your time efficiently.
Preparation Time
First up, the preparation. Depending on how adventurous you feel, chopping your favorite fruits and blending the mix will take about 15-20 minutes. This is where you can get creative with flavors and combinations!
Freezing Time
Next, we have the freezing stage. After pouring your fruit puree into molds, let them freeze for a solid 4-6 hours (or overnight for best results). This is the hardest part—waiting is not easy when popsicle dreams are on the line!
Total Time
In total, you’re looking at about 5-6 hours from start to finish, including prep, freezing, and a delicious reward. Make sure to plan your popsicle-making day ahead, so you can enjoy your sweet treat whenever you want. For more tips on popsicle molds and fruit combinations, check out Food Network’s popsicle guide for inspiration.
Happy popsicle making!
Nutritional Facts for Homemade Fruit Popsicles
When enjoying homemade fruit popsicles, it’s great to know what you’re putting in your body. Let’s break down the nutritional aspects to keep you informed!
Calories per popsicle
On average, each popsicle contains about 50-70 calories, depending on the fruits and sweeteners used. By controlling your ingredients, you can craft a delightful yet guilt-free treat. Plus, fresh fruit provides essential vitamins and minerals, making your popsicles a healthier option than store-bought varieties.
Sugar content details
With homemade fruit popsicles, you can manage the sugar content more effectively. While natural sugars from fruits like strawberries and bananas contribute to sweetness, you can adjust additional sweeteners to taste. Typically, each popsicle will have around 8-12 grams of sugar, which is significantly lower than many commercial options that can exceed 20 grams per serving. Curious about the benefits of reducing sugar intake? Check out the American Heart Association’s guidelines for more insights!
As you create your own frozen fantasies, know that you’re savoring a crafty mix of joy and nourishment wrapped in that vibrant, fruity flavor.
FAQs about Homemade Fruit Popsicles
How long do homemade popsicles last in the freezer?
When stored properly, homemade fruit popsicles can last in your freezer for about 2 to 3 months. To maximize freshness, wrap each popsicle in plastic wrap or foil, or store them in an airtight container. Keep in mind that while they may still be safe to eat after this timeframe, you might notice a decline in flavor and texture. Want to learn more about food storage tips? Check out this resource for more information.
Can I use frozen fruit for popsicles?
Absolutely! Using frozen fruit is a fantastic option for making delicious homemade fruit popsicles. In fact, frozen fruit can often yield a creamier texture and more intense flavor since it’s typically picked at peak ripeness and quickly frozen. Just be sure to blend the frozen fruit well to create a smooth consistency, and feel free to adjust the liquid (like fruit juice or coconut water) to reach your desired texture. You can find a great selection of frozen fruit at your local grocery store or online.
What are some fun mix-ins I can add?
Mixing it up is the best part of making homemade fruit popsicles! Here are a few fun ideas to get you started:
- Yogurt: Add a layer of yogurt for creaminess.
- Herbs: Fresh mint or basil can add an unexpected twist.
- Nuts: Chopped almonds or walnuts for a bit of crunch.
- Honey or agave syrup: For an extra touch of sweetness.
Feel free to experiment! The flavor combinations are endless, and each creation is a chance to showcase your personal taste. So grab your favorite fruits, and start crafting your perfect popsicle today!
Conclusion on Homemade Fruit Popsicles
Recap of the Benefits of Homemade Fruit Popsicles
In summary, homemade fruit popsicles offer a delicious way to beat the heat while providing several health benefits. By using fresh fruits and natural sweeteners, you control the ingredients, ensuring a wholesome treat without unwanted additives. They’re a fantastic alternative to store-bought options, which often contain added sugars and preservatives.
Plus, making these popsicles allows for tons of creativity—experiment with your favorite flavors and combinations. Imagine the satisfaction of enjoying a treat that’s not only tasty but also packed with nutrients. So, grab your molds and get started; your taste buds (and your health) will thank you! For more tips on healthy snacks, check out this guide on healthy eating or dive into some fun recipes at AllRecipes.
Homemade Fruit Popsicles: Easy Ways to Enjoy Refreshing Flavors
Enjoy the delightful flavors of summer with these easy-to-make homemade fruit popsicles that are perfect for a refreshing treat!
- Prep Time: 15 minutes
- Total Time: 4-6 hours (freezing time)
- Yield: 6 popsicles 1x
- Category: Dessert
- Method: Freezing
- Cuisine: American
- Diet: Vegan
Ingredients
- 2 cups fresh fruit puree (such as strawberries, mangoes, or peaches)
- 1 cup coconut water or fruit juice
- 2 tablespoons honey or maple syrup (optional)
Instructions
- Blend the fresh fruit until smooth to make fruit puree.
- Mix the fruit puree with coconut water or fruit juice in a bowl.
- Sweeten with honey or maple syrup if desired.
- Pour the mixture into popsicle molds.
- Insert sticks and freeze for at least 4-6 hours.
- To release, run warm water over the outside of the molds.
- Enjoy your homemade fruit popsicles!
Notes
- Experiment with different fruit combinations.
- Use silicone molds for easier removal.
Nutrition
- Serving Size: 1 popsicle
- Calories: 60
- Sugar: 10g
- Sodium: 5mg
- Fat: 0g
- Saturated Fat: 0g
- Unsaturated Fat: 0g
- Trans Fat: 0g
- Carbohydrates: 15g
- Fiber: 1g
- Protein: 0g
- Cholesterol: 0mg
Keywords: Homemade Fruit Popsicles, easy dessert, refreshing treat