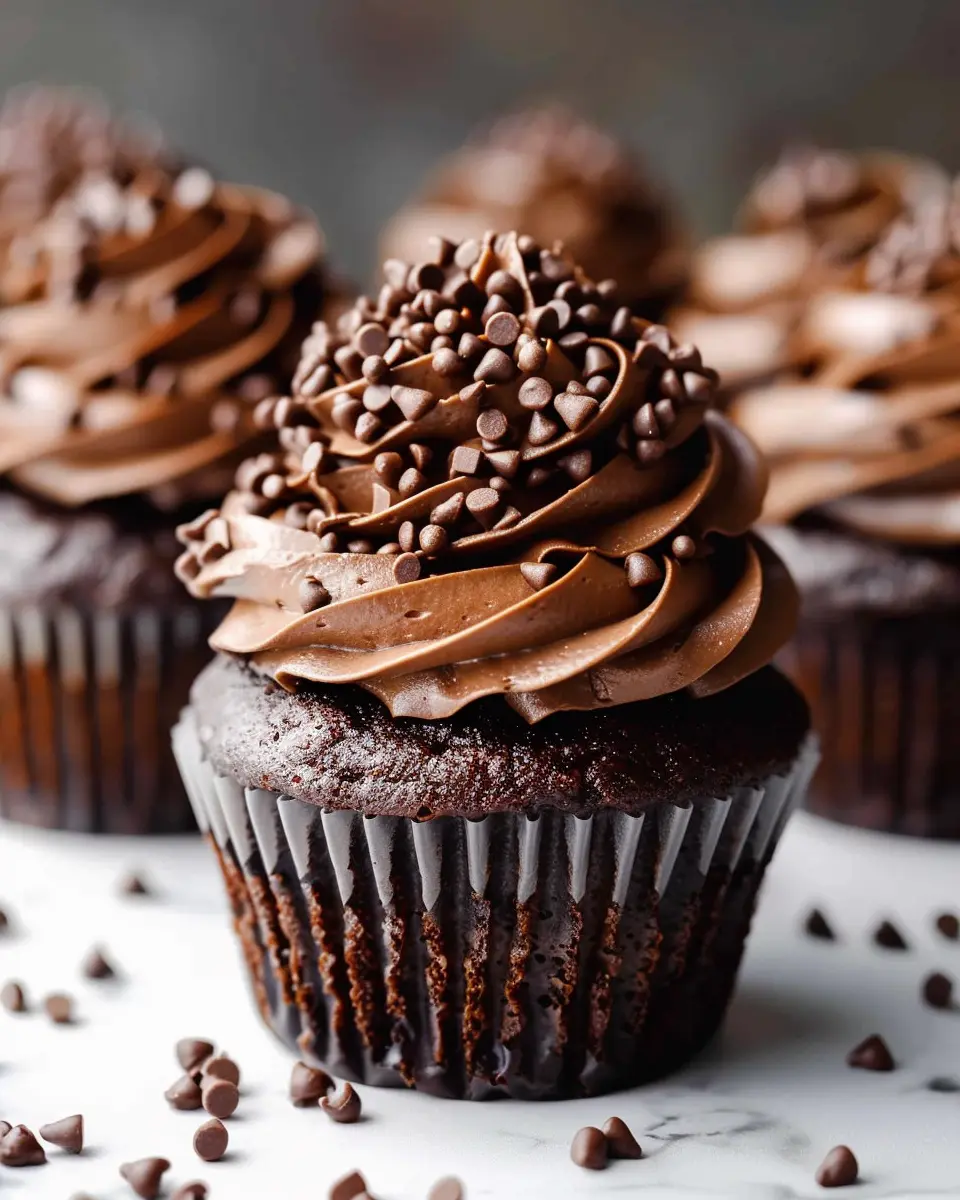
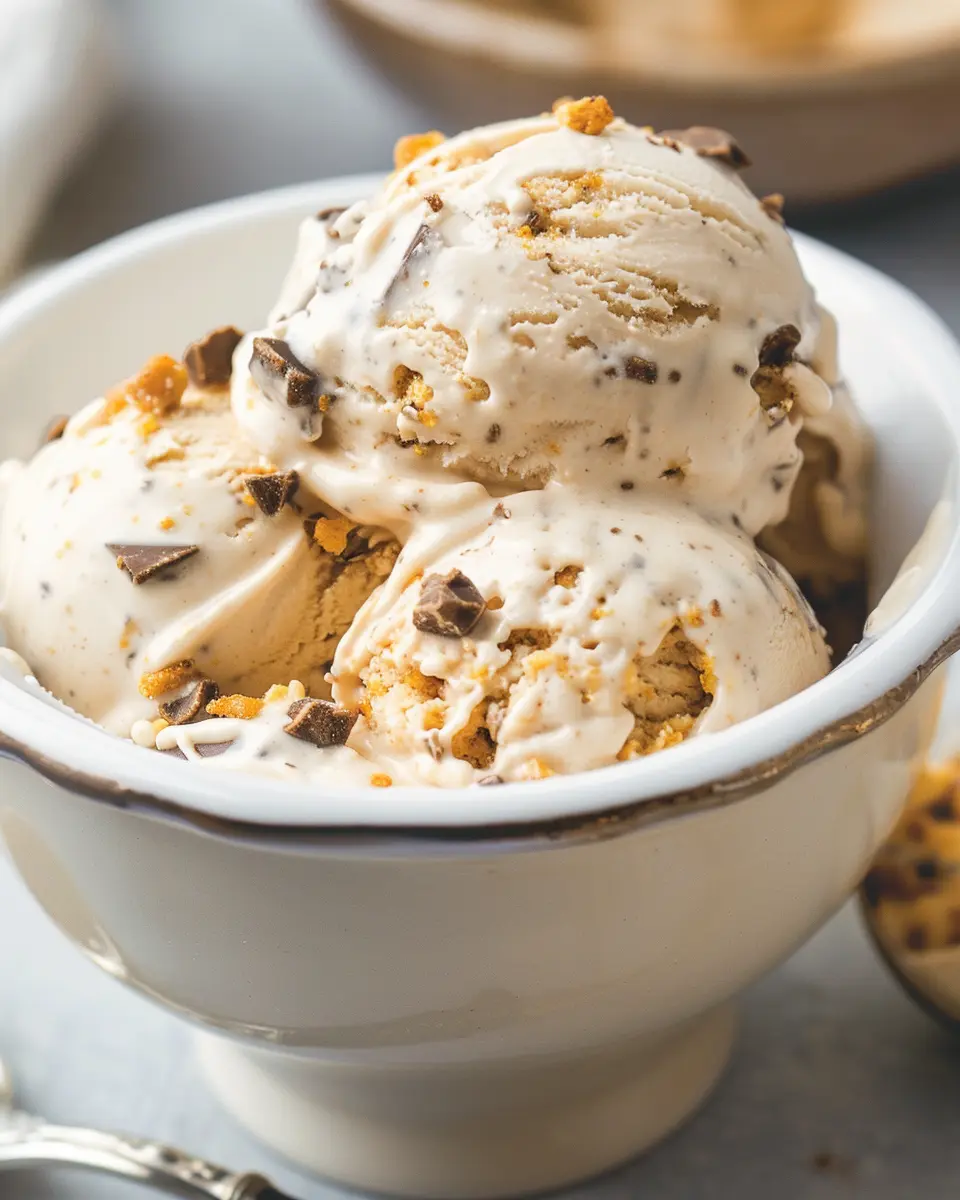
Introduction to Easy Ninja Creami Butterfinger Ice Cream
If you’ve ever had a hankering for ice cream, you know that nothing quite compares to a scoop of this creamy delight. But have you ever considered the joy of making it yourself? Welcome to the world of homemade ice cream, where you can indulge your cravings while controlling the ingredients. The prospect of creating your own ice cream flavors opens up a universe of possibilities that’s not just fun, but a true game changer for your dessert game.
Why Homemade Ice Cream is a Game Changer
When you take the plunge into making your own Ice Cream, you’ll discover several incredible benefits:
- Control Over Ingredients: You get to decide what goes into your ice cream. No more mystery additives or artificial flavors—just pure, quality ingredients. This is particularly great if you’re dairy-sensitive or looking to create a vegan-friendly option.
- Unique Flavors: Ever wanted to whip up something crazy? With homemade ice cream, you can experiment with flavors like lavender or even spicy chocolate. Why not roll out a batch of easy Ninja Creami Butterfinger ice cream and jazz it up with your favorite candy pieces?
- Family Fun: Ice cream making can be a family affair. Get the kids involved in the process, letting them mix in their favorite add-ins. It’s a great way to bond while igniting their culinary creativity.
As you prepare to embark on this culinary adventure, consider checking out resources like the National Ice Cream Association for some fun facts about your favorite frozen treat. Did you know that the average American eats about 23 pounds of ice cream each year? That’s a lot of scoops!
Another perk of making your own ice cream is cost-efficiency. Store-bought varieties, especially premium brands, can be pricey. However, once you have the essentials at home, you can whip up batches for a fraction of the cost. Imagine serving up your own delicious homemade ice cream to friends at your next gathering—it’s a guaranteed crowd-pleaser.
So, get ready to grab your Ninja Creami and dive into this delightful recipe for easy Ninja Creami Butterfinger ice cream. Your taste buds will thank you, and your dessert game will be forever elevated!
Ingredients for Easy Ninja Creami Butterfinger Ice Cream
Key ingredients for the perfect blend
Creating the ultimate easy Ninja Creami Butterfinger ice cream starts with a few essential ingredients that blend seamlessly to achieve that dreamy, creamy texture. Here’s what you’ll need:
- Heavy cream: This is your base, providing richness and that signature smoothness.
- Sweetened condensed milk: For a touch of sweetness and a thicker consistency.
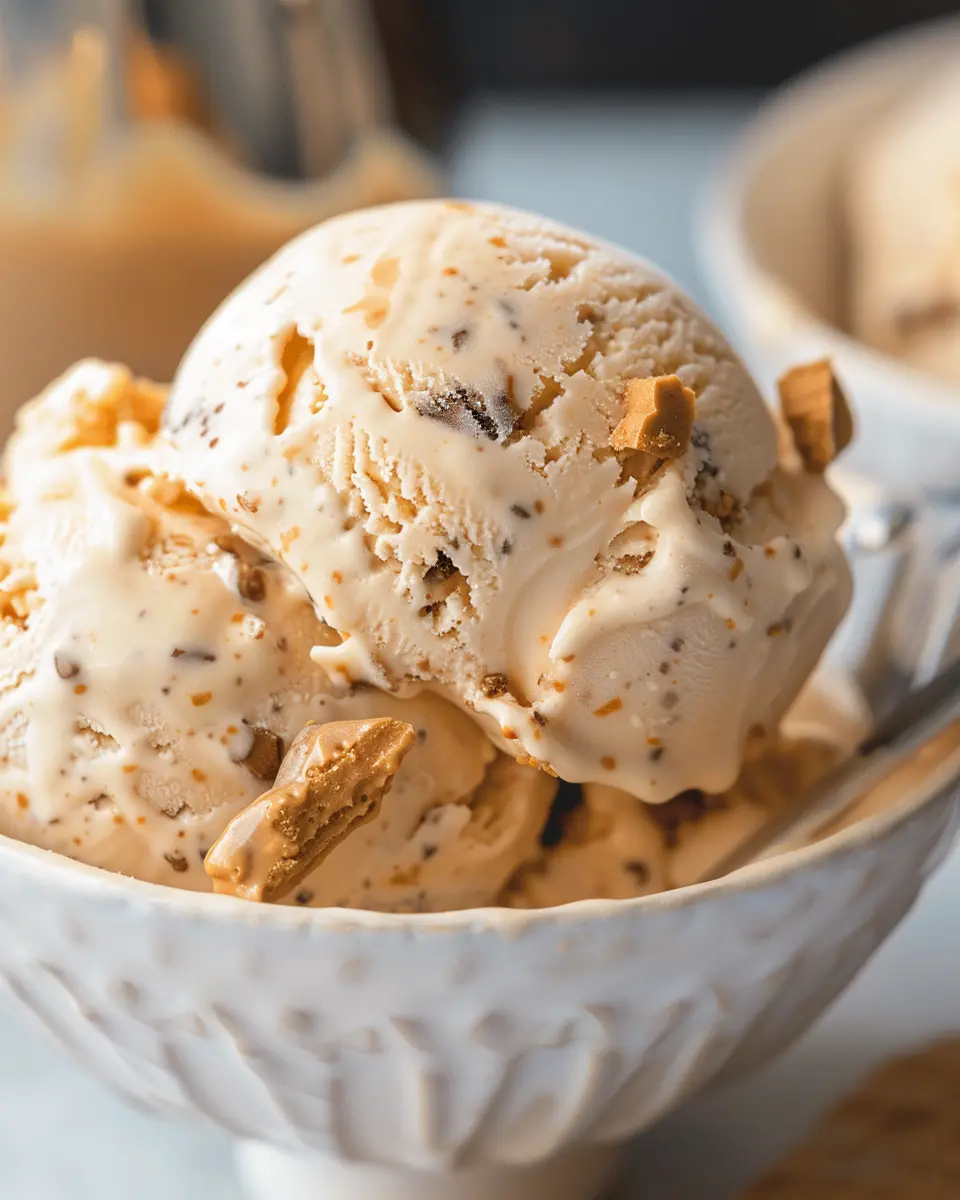
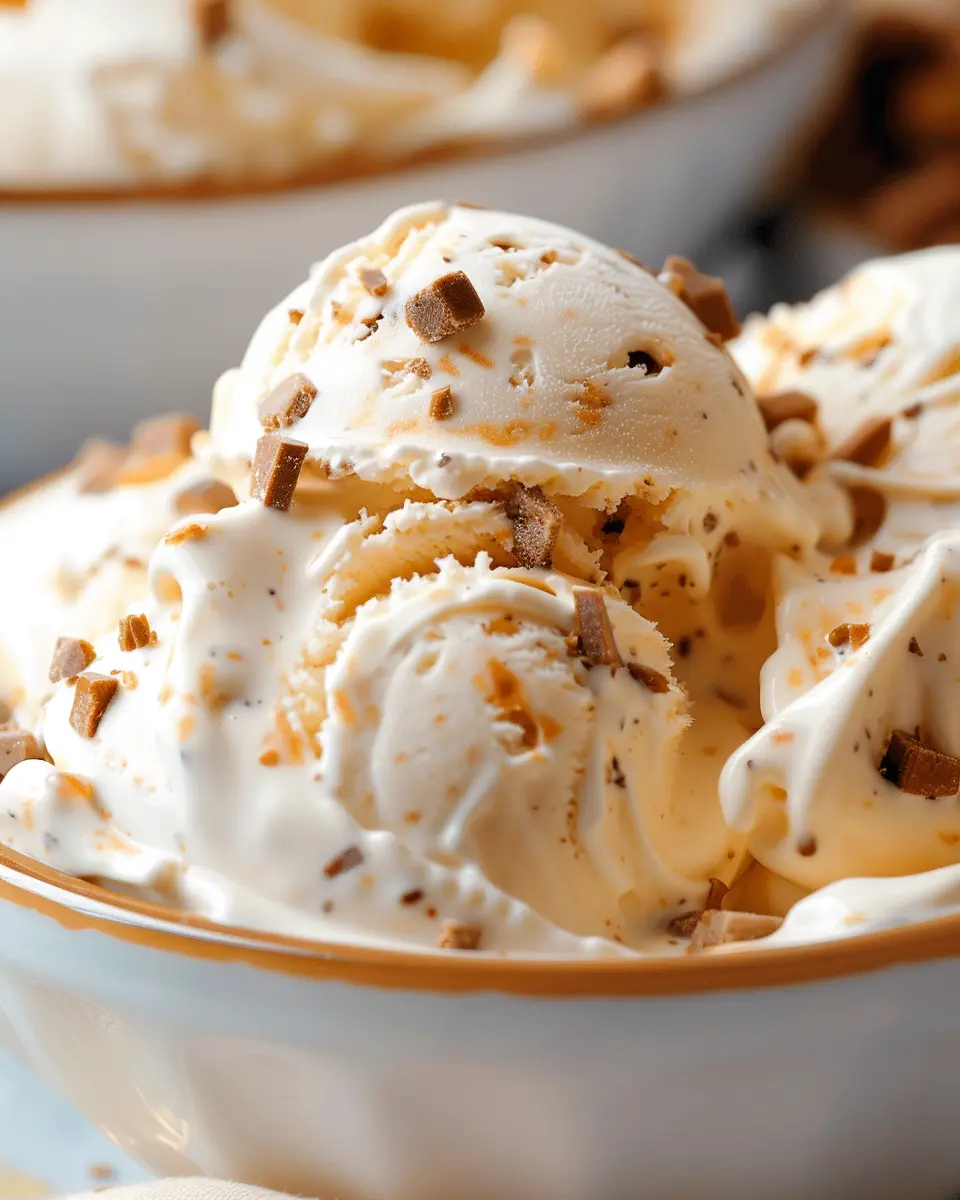
- Butterfinger candy bars: The star of the show! Remember to chop them into bite-sized pieces for easy incorporation.
- Vanilla extract: A splash of vanilla elevates the flavors and adds depth.
With these ingredients, you’re well on your way to a delicious treat. The combination of creamy and crunchy will make your taste buds dance!
Optional add-ins for customization
One of the best parts about the easy Ninja Creami Butterfinger ice cream is that you can personalize it to suit your tastes. Consider these optional add-ins:
- Peanut butter: Swirl in some creamy or crunchy peanut butter for a nutty twist.
- Chocolate chips: For added sweetness and texture.
- Swirls of caramel or chocolate sauce: Elevate your ice cream’s flavor profile with some decadent drizzles.
Feel free to experiment! You might just stumble upon a new favorite combination. Don’t forget to check out Serious Eats for more ice cream inspiration!
Step-by-step preparation of Easy Ninja Creami Butterfinger Ice Cream
Creating a creamy, dreamy homemade ice cream can feel like a lofty goal, but with the right approach, you’ll be scooping up easy Ninja Creami Butterfinger ice cream in no time! Follow these steps for a delightful treat that captures the essence of summer all year round.
Gather your equipment
Before diving into the world of homemade ice cream, it’s essential to get your kitchen organized. Here’s what you’ll need:
- Ninja Creami – This machine is a game-changer for making creamy, soft-serve-like ice cream.
- Measuring cups and spoons – Accurate measurements ensure delicious results.
- Mixing bowl – A medium-sized bowl will work wonders for whisking ingredients.
- Spatula – For scraping out every bit of your creamy concoction.
- Ice cream storage container – An airtight container will keep your ice cream fresh.
Once you have everything in place, you’re ready to start your ice cream adventure!
Whisk together the base ingredients
The first step to crafting your easy Ninja Creami Butterfinger ice cream is mixing the foundational ingredients. The beauty of homemade ice cream lies in its simplicity; you’ll create a base that’s both rich and delectable. Here’s how to do it:
-
Combine: In your mixing bowl, whisk together:
- 2 cups of heavy cream
- 1 cup of whole milk
- 2/3 cup of granulated sugar
- 1 tablespoon of pure vanilla extract
-
Blend well: Make sure there aren’t any lumps. The smoother the mixture, the creamier the end product.
-
Taste test: Now’s your chance for a little quality control—take a small taste! Need more sweetness? Adjust it to your preference.
This base mixture sets the stage for your Ninja Creami Butterfinger ice cream, and you might even use it for other flavors in the future!
Freeze the ice cream mixture
After crafting your base, it’s time for the most crucial step—freezing!
-
Pour the mixture into your freezer-safe container. Secure the lid and place it in the freezer.
-
Freeze: Allow the base to freeze for at least 24 hours. This will give you that perfect creamy texture. It’s a great time to binge-watch your favorite series or catch up on a novel. While you’re waiting, why not check out some tips on freezing ice cream for optimal texture here?
Use the Ninja Creami to churn
The moment you’ll be waiting for has arrived! Once the base is fully frozen, it’s time for churning.
-
Remove the container from the freezer and let it sit for about 10 minutes. This slight thawing will make it easier for your Ninja Creami to do its job.
-
Scoop the frozen mixture into the Ninja Creami’s bowl, ensuring not to overfill.
-
Select the “Ice Cream” function on your Ninja Creami. Watch as your mixture transforms into a luscious, creamy delight—it’s a delightful spectacle!
The Ninja Creami works wonders, blending air into the ice cream for that perfect soft-serve texture.
Incorporate Butterfinger bits
Now for the star of the show—Butterfinger!
-
Crush some fun-sized Butterfinger candies into chunky bits. You can do this using a rolling pin or just a good old-fashioned chop with a knife.
-
Add the Butterfinger bits to the churned ice cream. Use a spatula to gently fold them in, so every scoop comes loaded with a bit of crunch and chocolatey goodness.
-
Finalize: If you prefer a swirled effect, you can also scoop some ice cream back into the machine with the Butterfinger bits and select the “Mix-In” function.
And there you have it! Your easy Ninja Creami Butterfinger ice cream is ready to scoop and serve. Enjoy in a bowl, cone, or straight from the container—no judgment here! Pair it with your favorite dessert, or savor it solo for a well-deserved treat after a long day.
Variations on Easy Ninja Creami Butterfinger Ice Cream
Looking to jazz up your easy Ninja Creami Butterfinger ice cream? You’re in luck! Here are a couple of fun variations that can elevate your homemade treat into something extraordinary. Let’s dive in!
Indulgent Butterfinger Chocolate Swirl
Imagine the creamy goodness of easy Ninja Creami Butterfinger ice cream with an irresistible chocolate twist! For this variation, melt some semi-sweet or dark chocolate and drizzle it into your ice cream mixture just before processing. As it churns, the chocolate will create delightful swirls that’ll surely impress your guests.
To make it even more exciting, consider adding finely crushed Butterfinger pieces into the mix. You’ll get that classic buttery crunch with each lick! This combination perfectly balances the rich flavors of chocolate and butter candy. For chocolate lovers, it’s a game-changer. Want to learn more about chocolate pairings? Check out The Chocolate Life for inspiration.
Peanut Butter and Banana Twist
If you’re a fan of fruity flavors, why not blend in some bananas? Start by pureeing ripe bananas and mixing them with your standard easy Ninja Creami Butterfinger ice cream base. The natural sweetness of the banana plays beautifully with the buttery notes of Butterfinger. Plus, adding a swirl of creamy peanut butter not only amps up the flavor but also gives you that delightful nutty texture.
This combo is reminiscent of a nostalgic childhood snack – perfect for anything from a warm sunny day to cozy nights in. You might find yourself whipping this version up more often than you’d expect!
Mixing these variations into your ice cream routine not only opens up a world of flavor but also lets you explore new culinary avenues right from the comfort of your kitchen. Enjoy your concoction!
Cooking Tips and Notes for Easy Ninja Creami Butterfinger Ice Cream
Storing Your Homemade Ice Cream
Once you’ve whipped up that delightful batch of easy Ninja Creami Butterfinger ice cream, it’s all about storage. For optimal freshness, keep your ice cream in an airtight container, which helps prevent freezer burn and keep it creamy. The ideal storage temperature is at or below -10°F. This way, every scoop remains rich and delicious!
Achieving the Right Texture
Texture is crucial for any ice cream. After freezing your mixture, let it sit out for about 5-10 minutes before using the Ninja Creami—it makes blending smoother. If you find your ice cream too soft, refreeze it for a bit longer, then give it another spin in the Creami. For an even more indulgent experience, consider adding crushed Butterfinger pieces during the re-spin for added crunch.
Keeping these tips in mind ensures your homemade treat is always a standout at summer parties. Want more ice cream inspiration? Check out this Classic Vanilla Ice Cream recipe!

Serving suggestions for Easy Ninja Creami Butterfinger Ice Cream
Pairing with Other Desserts
Elevate your Easy Ninja Creami Butterfinger Ice Cream by pairing it with complementary desserts. Imagine serving it alongside warm brownies for that delightful contrast of temperatures and textures. If you’re feeling adventurous, a slice of fresh strawberry shortcake with a scoop of your ice cream on top can add a burst of flavor. For an extra touch, drizzle some caramel sauce or top it with crushed Butterfinger pieces to amplify those rich, nutty flavors.
Creative Serving Concepts
Think outside the bowl! Serve your ice cream in waffle cones or even inside a chocolate-dipped graham cracker crust for a fun, portable treat. You can also layer your Easy Ninja Creami Butterfinger Ice Cream in a mason jar with granola, chopped fruits, and a splash of chocolate syrup for a delightful parfait. This not only looks visually appealing but also enhances texture and flavor layers.
For more unique serving ideas, check out Food Network for inspiration, or explore posts on Serious Eats for a deeper dive into creative dessert pairings!
Time breakdown for Easy Ninja Creami Butterfinger Ice Cream
Preparation time
To whip up your easy Ninja Creami Butterfinger ice cream, you’ll need about 15 minutes for preparation. This includes gathering ingredients, mixing everything together, and breaking up those delicious Butterfinger bars. Keep it fun and engaging—the more you enjoy this process, the more delightful your ice cream will be!
Freezing time
Next, allow for at least 24 hours of freezing time after you’ve combined your ingredients. This step is crucial for achieving that perfect creamy texture. It’s worth the wait, I promise! You can always sneak a taste of the mixture before freezing—it’s a great way to get excited for what’s to come.
Total time
In total, you’re looking at roughly 24 hours and 15 minutes from start to finish, including the prep and freeze time. But don’t let that deter you! Most of that time is hands-off, freeing you up to plan your ice cream party or binge-watch your favorite series. While you wait, you might enjoy reading this guide on the science of ice cream making to deepen your culinary knowledge!
Nutritional facts for Easy Ninja Creami Butterfinger Ice Cream
Calories breakdown
When indulging in Easy Ninja Creami Butterfinger Ice Cream, it’s good to know what you’re treating yourself to. A typical serving contains around 250 calories, which makes it an enjoyable yet mindful dessert choice. Out of those, approximately 120 calories come from fats, thanks to the creamy base and Butterfinger pieces that add a rich flavor.
Nutritional highlights
This frozen delight isn’t just about taste; it packs some nutritional benefits too! Here are a few highlights to consider:
- Protein: With about 5 grams per serving, this ice cream offers a little boost to help you feel satiated.
- Carbohydrates: Expect around 30 grams, which fuels your energy for those late-night Netflix marathons.
- Sugars: Contains approximately 18 grams, giving that sweet satisfaction without going overboard.
Looking for alternatives or substitutions for your Easy Ninja Creami Butterfinger Ice Cream experience? Check out resources like the USDA’s Nutritional Database. They can provide insights into modifying recipes while still hitting your desired nutritional goals.
FAQs about Easy Ninja Creami Butterfinger Ice Cream
Can I use different types of pudding mixes?
Absolutely! While this easy Ninja Creami Butterfinger ice cream recipe typically calls for vanilla pudding, feel free to experiment with other flavors. Chocolate pudding could add an extra layer of richness, or you might try butterscotch for a twist. Keep in mind, though, each flavor will subtly change the overall taste of your ice cream. For those who are adventurous in the kitchen, this could be the perfect way to personalize your treat!
How do I adjust the sweetness?
Adjusting the sweetness in your easy Ninja Creami Butterfinger ice cream recipe is simple! If you prefer a less sweet treat, you can reduce the sugar or substitute it with a sugar alternative like stevia or erythritol. A dash of salt can also enhance flavor without adding sweetness. On the flip side, if you like it sweeter, add a bit more sugar or consider drizzling in some honey or maple syrup. The goal is to find that perfect balance that pleases your palate!
What if I don’t have a Ninja Creami?
No worries if you don’t own a Ninja Creami! While this specific recipe is designed for it, you can easily adapt it for manual methods. Simply churn the mixture in a traditional ice cream maker according to the manufacturer’s instructions. Alternatively, pour the mixture into a freezer-safe container and freeze it, stirring every 30-45 minutes until it reaches your desired consistency. This method takes a bit longer, but you’ll still end up with a delicious Butterfinger ice cream that’s sure to impress! For more tips on homemade ice cream, check out resources from experts like the Ice Cream Science website.
Conclusion on Easy Ninja Creami Butterfinger Ice Cream
Why You Should Try Making This Delightful Summer Treat
Using your Ninja Creami to whip up some easy Ninja Creami Butterfinger ice cream is more than just a tasty endeavor; it’s a fun culinary adventure! The rich, creamy texture combined with the crunchy Butterfinger bits makes this treat a crowd-pleaser, perfect for summer gatherings or just a cozy night in.
Imagine indulging in this fresh, homemade delight after a long day—it’s a true game-changer! Plus, it’s simple enough for anyone to tackle, even if you’re just starting out in the kitchen. Treat yourself and your friends to something special; you won’t regret it! For more ice cream inspiration, check out The Ice Cream Revolution and elevate your dessert game!
Easy Ninja Creami Butterfinger Ice Cream: A Delicious Treat You’ll Love
Make a rich and creamy Butterfinger ice cream at home with your Ninja Creami!
- Prep Time: 10 minutes
- Total Time: 1 day
- Yield: 4 servings 1x
- Category: Dessert
- Method: No-cook
- Cuisine: American
- Diet: Vegetarian
Ingredients
- 2 cups heavy whipping cream
- 1 cup sweetened condensed milk
- 1 teaspoon vanilla extract
- 1 cup Butterfinger candy bars, chopped
Instructions
- In a large bowl, combine heavy whipping cream, sweetened condensed milk, and vanilla extract. Mix until well combined.
- Fold in the chopped Butterfinger candy bars.
- Pour the mixture into the Ninja Creami pint container and freeze for at least 24 hours.
- After freezing, remove the container from the freezer and process in the Ninja Creami according to the manufacturer’s instructions.
- Serve and enjoy your delicious Butterfinger ice cream!
Notes
- For extra flavor, add a pinch of sea salt.
- Try mixing in additional toppings like chocolate chips or nuts.
Nutrition
- Serving Size: 1/2 cup
- Calories: 300
- Sugar: 20g
- Sodium: 90mg
- Fat: 22g
- Saturated Fat: 14g
- Unsaturated Fat: 6g
- Trans Fat: 0g
- Carbohydrates: 25g
- Fiber: 0g
- Protein: 3g
- Cholesterol: 80mg
Keywords: Easy Ninja Creami Butterfinger Ice Cream, Butterfinger, ice cream, dessert, Ninja Creami