Introduction to Easy Chicken Kiev
What is Chicken Kiev and Why Is It Special?
If you’ve never tried Chicken Kiev, you’re missing out on one of the most delicious comfort foods that perfectly combines simplicity with decadence. This dish originated from Ukraine and has become a staple in many countries. At its core, Chicken Kiev features a juicy chicken breast wrapped around a flavorful compound butter, which melts beautifully when cooked, creating a delightful and aromatic sauce.
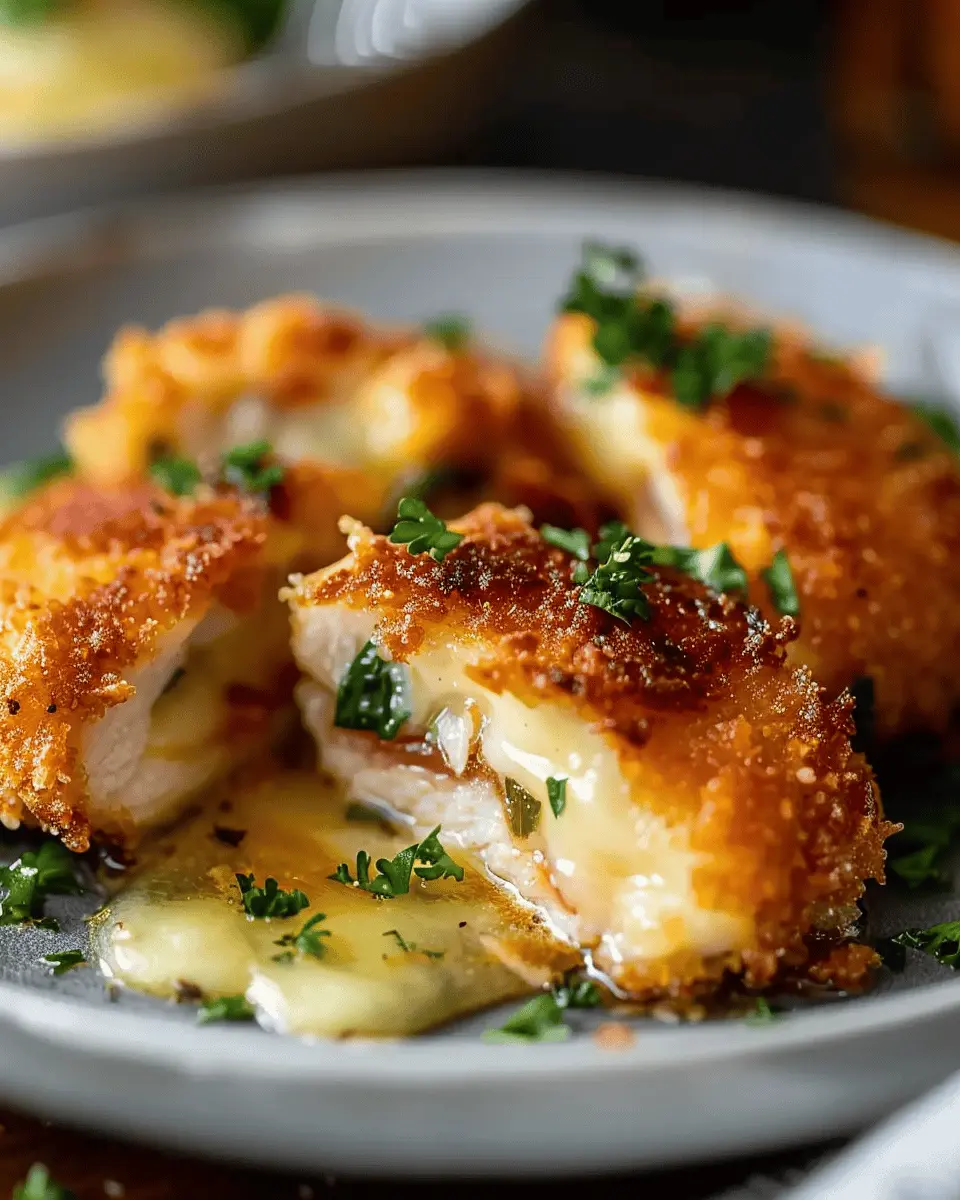
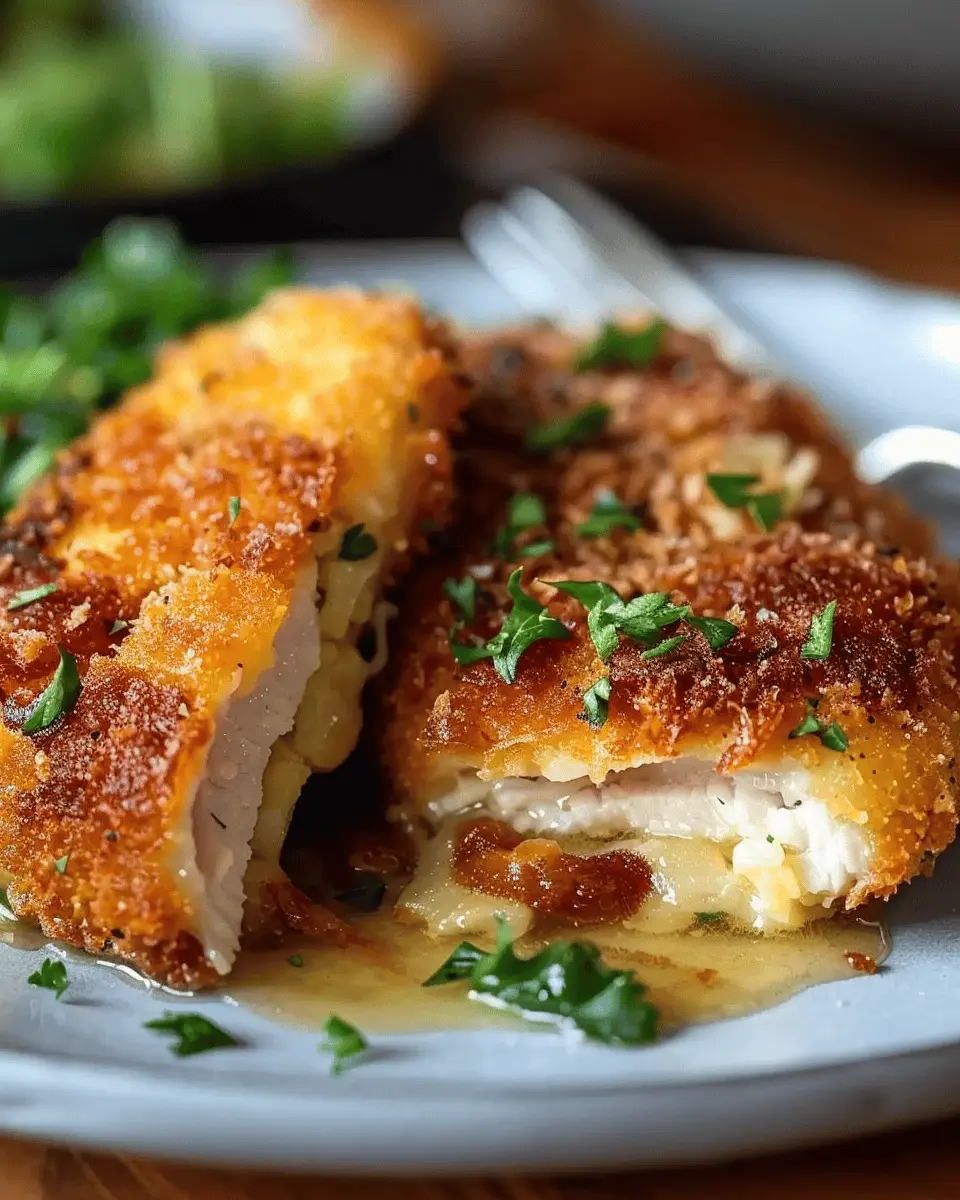
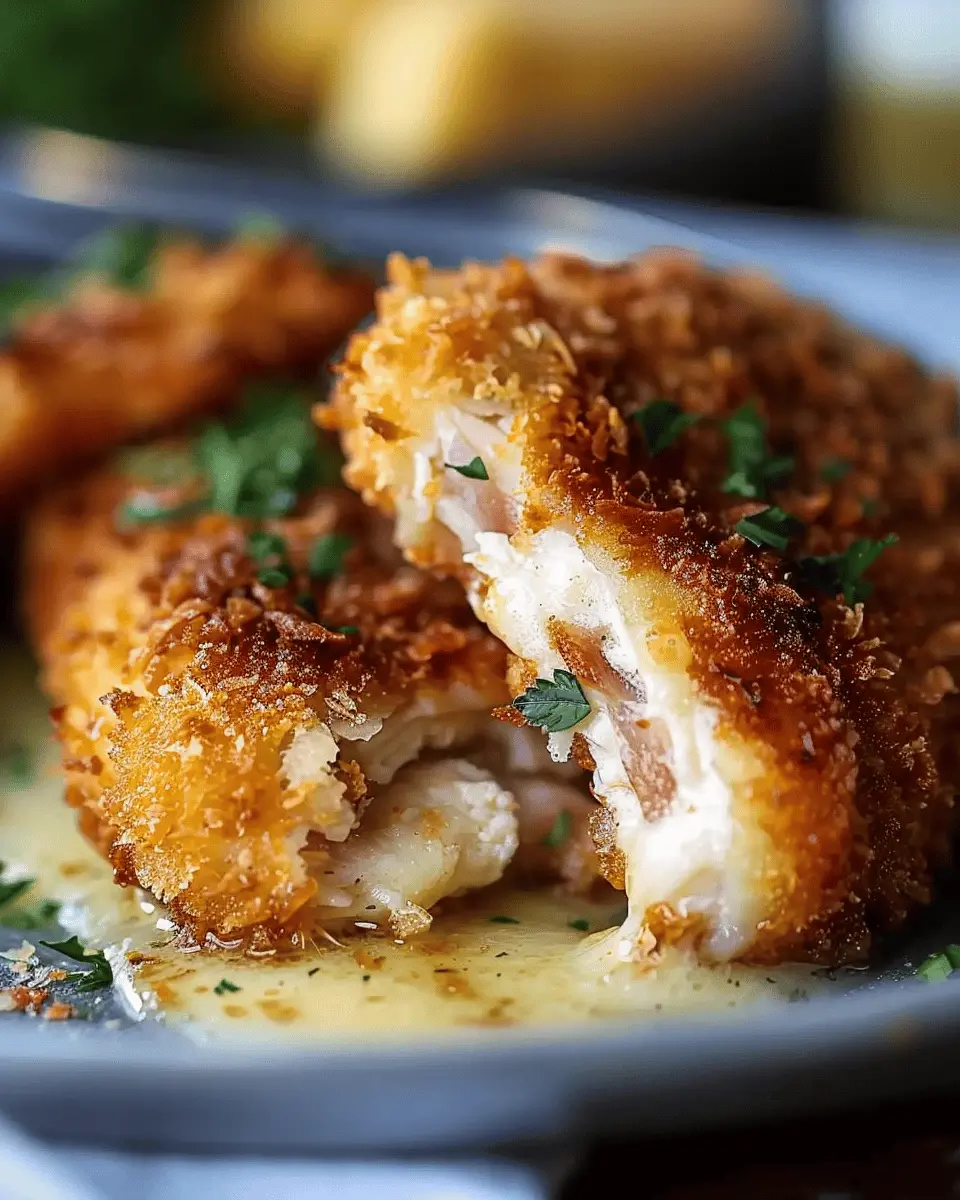
But what makes easy chicken kiev so special? Beyond its impressive presentation, it’s a dish that feels luxurious yet can be effortlessly made in your kitchen. Imagine the thrill of cutting into the crispy exterior and watching the golden butter ooze out—it’s a true showstopper for a dinner party or a cozy night in.
Traditionally, making Chicken Kiev can be quite labor-intensive, involving buttering, breading, and careful frying. However, our easy version streamlines the process without sacrificing flavor. You can easily find step-by-step guides on BBC Good Food and similar sources that offer organized recipes to make the process easier.
Another reason to love easy chicken kiev is how versatile it is. You can pair it with various sides such as roasted vegetables, mashed potatoes, or even a fresh salad. The buttery goodness complements almost anything, making your meal a complete delight.
Did you know that including savory dishes like Chicken Kiev can enhance your dining experience? Research published by the Journal of Gastronomy highlights how comfort foods evoke feelings of nostalgia and happiness, adding an emotional layer to your meals.
Whether you’re hosting a gathering or simply treating yourself after a long day at work, this dish is ideal for young professionals looking to impress. You’ll not only savor an incredible meal but will also harness the joy of cooking with minimal fuss. So, let’s roll up our sleeves and dive into this easy chicken kiev recipe—you won’t regret it!
Ingredients for Easy Chicken Kiev
When it comes to whipping up an impressive yet simple dish, Easy Chicken Kiev is a winner! To get started, you’ll need two key components: the delightful garlic herb butter and the chicken.
Garlic Herb Butter Ingredients
The heart of your Easy Chicken Kiev is its rich garlic herb butter. Gather these ingredients:
- ½ cup unsalted butter, softened
- 3-4 cloves of garlic, minced
- 2 tablespoons fresh parsley, finely chopped
- 1 tablespoon fresh dill, chopped (or 1 teaspoon dried)
- Salt and pepper to taste
- A squeeze of lemon for brightness
Mix these together until smooth; it’s the magic that makes your chicken so flavorful.
Chicken Ingredients
For the chicken itself, here’s what you need:
- 4 boneless, skinless chicken breasts
- Salt and pepper for seasoning
- 1 cup all-purpose flour
- 2 large eggs, beaten
- 1 cup breadcrumbs (Panko works great!)
- Cooking oil for frying
With these ingredients on hand, you’re well on your way to creating a mouthwatering Easy Chicken Kiev that will impress your friends and family. If you’re curious about more detailed preparation steps or cooking tips, you can check out this chicken cooking guide for some expert advice!
Preparing Easy Chicken Kiev
Chicken Kiev is a dish that brings comfort and joy, perfect for impressing friends or elevating a cozy night in. The golden, crispy exterior encases succulent chicken filled with a rich, garlicky butter that flows out when cut. Follow these simple steps to create your very own easy Chicken Kiev, and delight your taste buds.
Make the Garlic Herb Butter
The secret to a delicious Chicken Kiev lies in the garlic herb butter. Here’s how to get it just right:
- Ingredients:
- ½ cup unsalted butter (softened)
- 3-4 cloves of garlic (minced)
- 1 tablespoon fresh parsley (chopped)
- 1 teaspoon fresh dill (chopped)
- Salt and pepper to taste
- In a medium bowl, combine the softened butter with minced garlic, parsley, and dill.
- Season with salt and pepper, then mix until fully combined.
- Shape the butter into a log, wrap it in plastic wrap, and refrigerate until firm (about 30 minutes). This step is crucial; it ensures the flavors meld beautifully and makes it easy to stuff the chicken later.
For more tips on making flavorful butters, check out this helpful guide.
Prep the Chicken Breasts
Next, let’s get our chicken ready for stuffing.
- Ingredients:
- 4 boneless, skinless chicken breasts
- Salt and pepper to taste
- Start by placing each chicken breast between two sheets of plastic wrap. This helps prevent splatter and keeps cleanup easy.
- Using a meat mallet or rolling pin, gently pound the chicken to an even thickness, about ½ inch thick. This ensures even cooking.
- Season both sides of the chicken with salt and pepper for an added flavor boost.
If you’re wondering about the benefits of pounding chicken, it not only helps with cooking time but also makes the chicken tender and juicy.
Assemble the Chicken Kiev
Once your ingredients are prepped, it’s time to stuff the chicken with that delicious garlic herb butter.
- Take the chilled butter log out of the fridge and cut it into four equal pieces.
- Place one piece of butter in the center of each chicken breast.
- Fold the sides over the butter, and then roll the chicken tightly, securing with toothpicks if necessary. The goal here is to seal in that flavorful butter for the best experience when you finally cut in.
Coat and Bread the Chicken
Now comes the fun part — breading!
- Ingredients:
- 1 cup all-purpose flour
- 2 eggs (beaten)
- 1 cup breadcrumbs (preferably panko for extra crunch)
- Set up a breading station with three shallow dishes: one for flour, one for beaten eggs, and one for breadcrumbs.
- Dredge each stuffed chicken roll in flour, ensuring it’s well coated.
- Next, dip it in the egg wash, letting the excess drip off.
- Finally, coat it in breadcrumbs, pressing lightly to adhere.
This triple coating ensures that your Chicken Kiev will have that wonderfully crispy texture on the outside.
Fry and Bake to Perfection
The last step is to cook your easy Chicken Kiev to perfection.
- Preheat your oven to 375°F (190°C).
- In a large skillet, heat about 2 tablespoons of oil over medium heat. Carefully add the chicken and fry for about 2-3 minutes on each side until golden brown.
- Transfer the chicken to a baking dish and place it in the preheated oven. Bake for about 15-20 minutes or until the chicken is cooked through (an internal temperature of 165°F).
As it bakes, the butter melts into a delicious sauce, while the chicken stays juicy. Serve your Chicken Kiev with a side of fresh greens or mashed potatoes for a complete meal.
With these steps down, you’re well on your way to mastering easy Chicken Kiev. Not only is it delicious; it’s also impressive enough to be the star of any dinner party!

Variations on Easy Chicken Kiev
When it comes to easy chicken kiev, there’s a world of possibilities beyond the classic recipe. Here are a couple of delightful variations to suit different tastes and dietary preferences.
Healthier Baked Chicken Kiev
If you love the flavorful crunch of traditional Chicken Kiev but want a lighter version, try baking instead of frying!
- Ingredients: Substitute the regular butter with a blend of Greek yogurt and olive oil for a healthier filling.
- Preparation: Instead of breadcrumbs, coat the chicken breast with whole wheat breadcrumbs or ground oats for added fiber. Bake at 375°F (190°C) for about 25-30 minutes, allowing the chicken to cook thoroughly while keeping it juicy inside.
This baked version not only saves calories but also retains that rich, garlicky flavor you adore, just without the extra grease. You can learn more about healthy cooking alternatives on sites like Healthline for quick kitchen swaps.
Vegetarian Take on Chicken Kiev
Craving the taste of easy chicken kiev, but want to skip the meat? A vegetarian take using portobello mushrooms or chickpeas can be a game-changer.
- Ingredients: Use a large portobello cap and fill it with a mix of garlic, herbs, and butter or a plant-based alternative.
- Preparation: Bake the stuffed mushrooms as you would with chicken, ensuring they’re cooked thoroughly while soaking up all those flavors.
This not only gives you a different texture and flavor profile but is also an excellent meat-free option for gatherings. For more inspiration on vegetarian dishes, check out BBC Good Food for various meat-free recipes.
With these variations, you can indulge in the comforting flavors of easy chicken kiev while accommodating various dietary needs. Enjoy experimenting in your kitchen!
Cooking Tips and Notes for Easy Chicken Kiev
Tips for Perfect Garlic Herb Butter
Creating the ideal garlic herb butter is essential for your easy chicken kiev. Start with softened, room temperature unsalted butter to ensure it blends easily with your herbs and spices. Combine finely chopped garlic, fresh parsley, and a pinch of salt for a burst of flavor. If you’re feeling adventurous, adding lemon zest can elevate the taste even more! Take a moment to taste your mixture; it should be well-balanced and fragrant. Consider checking out this guide on Herb and Spice Combinations to inspire your own variations.
Importance of Chilling the Chicken
Don’t skip the chilling step! Once you’ve stuffed your chicken, refrigerate it for at least 30 minutes. This helps the garlic herb butter firm up, ensuring it stays inside during cooking. It can be frustrating to deal with butter leaks, and chilling helps prevent that. Plus, this allows the flavors to meld beautifully. Your patience will pay off when you slice into your chicken and reveal a melt-in-your-mouth surprise! For more insights on food preparation, check out resources from the USDA.
With these tips, you’re well on your way to mastering this classic dish!
Serving Suggestions for Easy Chicken Kiev
When it comes to mastering the art of serving easy chicken kiev, a few thoughtful pairings can elevate your meal from good to unforgettable. Here are some suggestions to make your dinner a hit!
Complementary Side Dishes
To balance the richness of easy chicken kiev, consider these delicious side options:
- Garlic Mashed Potatoes: Creamy and flavorful, they soak up any buttery garlic sauce from your chicken.
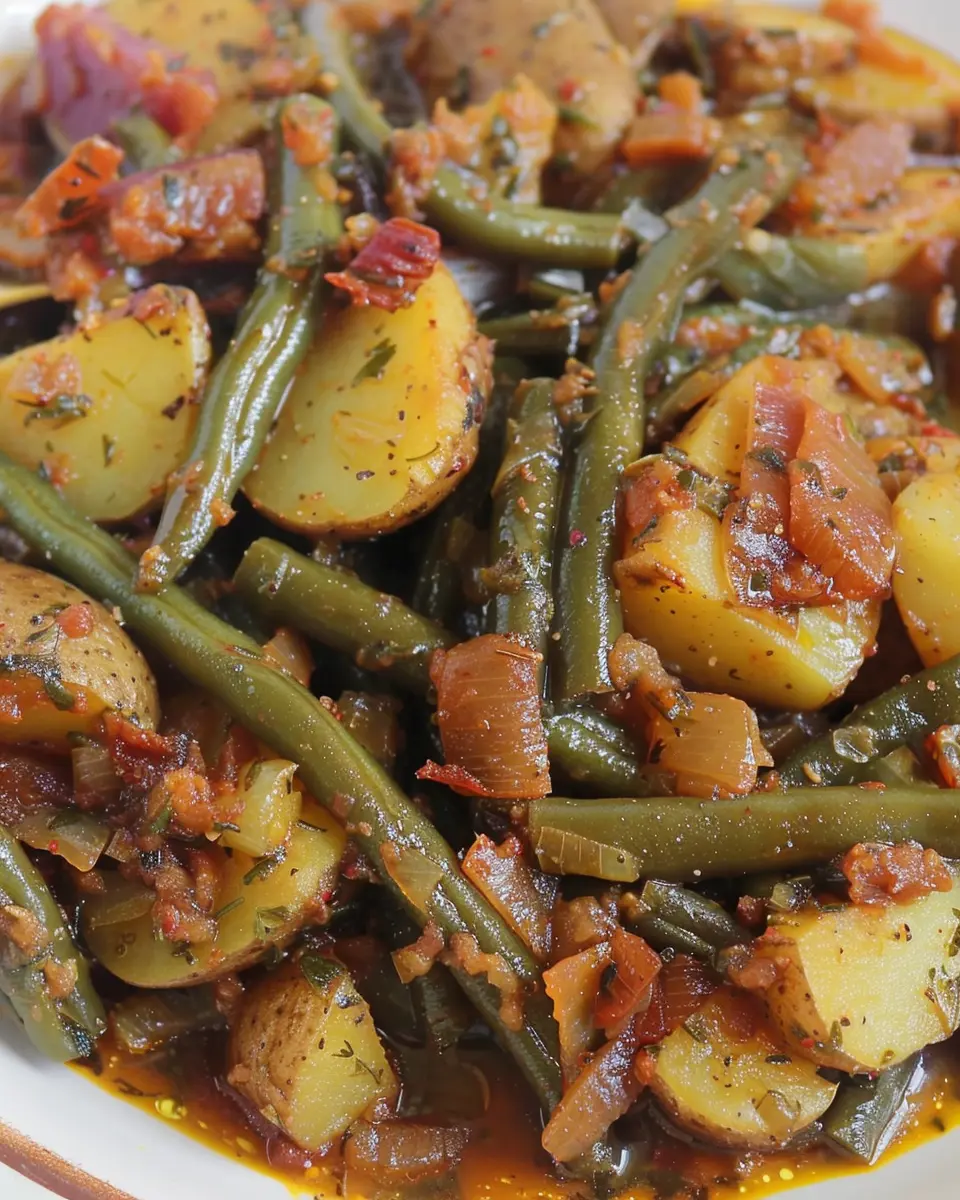
- Steamed Asparagus: The slight crunch and freshness of asparagus provide a perfect contrast.
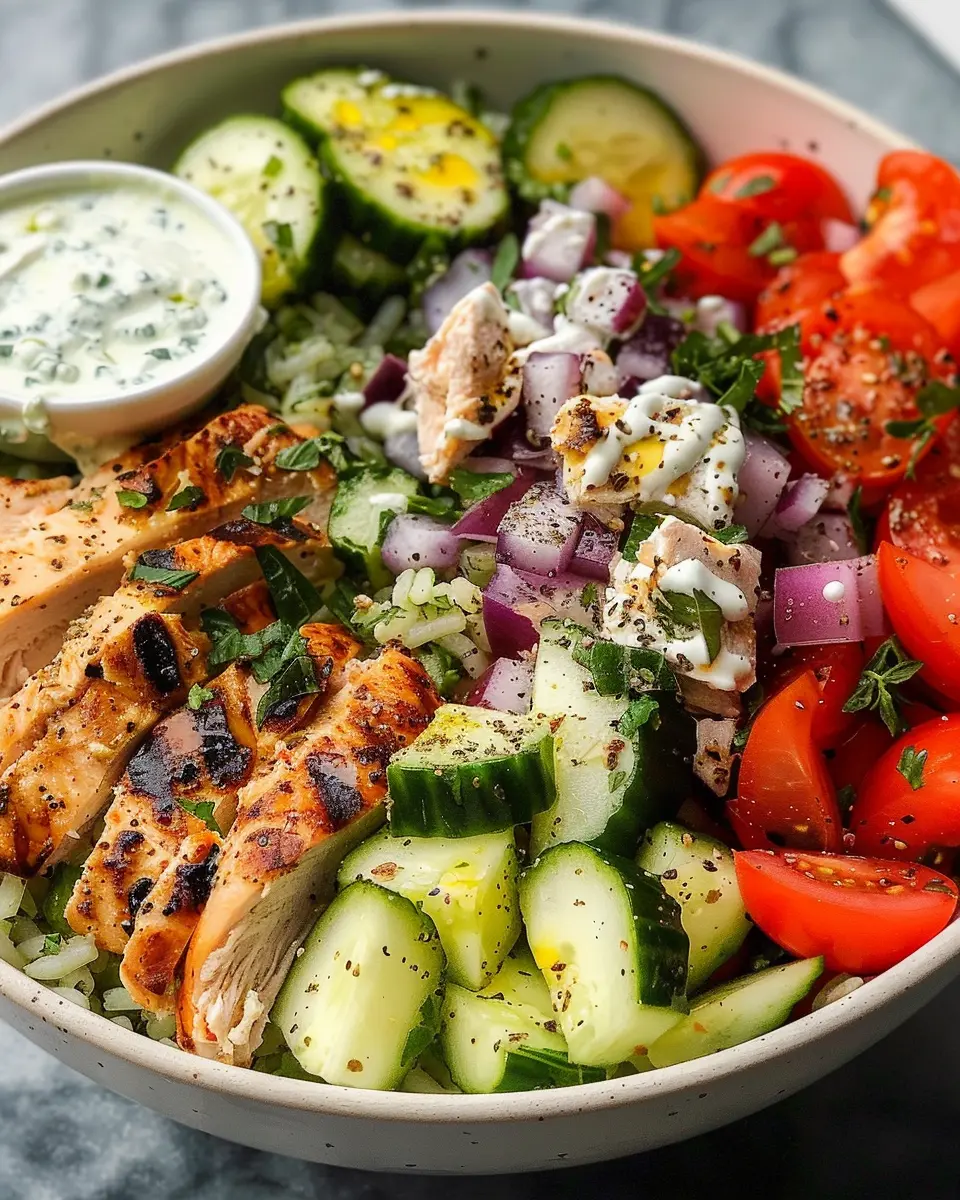
- Mixed Green Salad: Tossed with a light vinaigrette, this adds a refreshing note to your plate.
For ideas on crafting vibrant salads, check out this guide on seasonal ingredients.
Ideas for Sauces and Garnishes
A delectable sauce can enhance your easy chicken kiev experience. Try:
- Lemon Herb Sauce: A blend of lemon juice, olive oil, and fresh herbs can add a zesty kick.
- Creamy Mushroom Sauce: Rich and savory, this complements the chicken beautifully.
Don’t forget to garnish with fresh parsley or chives for that final touch of flair. Your friends will be impressed! Remember, presentation matters—serve with a slice of lemon for a bright pop of color.
With these serving suggestions, your easy chicken kiev will shine at the dinner table!
Time Breakdown for Easy Chicken Kiev
Preparation Time
Getting ready for your easy chicken kiev won’t take long at all—about 15 minutes should do it. This time includes gathering your ingredients, preparing the herb butter, and stuffing the chicken breasts. It’s a perfect opportunity to put on your favorite podcast or some upbeat music to get you in the cooking zone.
Cooking Time
Once you’re prepped, the cooking process should take around 30 minutes. You’ll pan-fry the chicken to a golden crisp before finishing it in the oven, ensuring that delicious herb-infused butter melts inside.
Total Time
All in all, you’re looking at roughly 45 minutes from start to finish. Isn’t that great? You can whip up a delightful meal without spending hours in the kitchen! For tips on cooking chicken safely, check out the USDA guidelines.
By the way, balancing work and meal prep is pivotal—why not try this easy chicken kiev recipe on a busy weeknight? You’ll have a restaurant-quality experience right at home! Want to learn more about kitchen hacks? Visit Culinary Institute of America for valuable insights.
Nutritional Facts for Easy Chicken Kiev
When you’re preparing easy chicken kiev, it’s important to know what you’re putting on your plate. Let’s break down the nutritional facts to help you enjoy this delightful dish guilt-free.
Estimated Calories Per Serving
Each serving of easy chicken kiev typically contains around 350-400 calories. This makes it a satisfying meal without going overboard on caloric intake.
Protein Content
You’ll get a healthy dose of protein from the chicken, with about 30 grams per serving. This is great for muscle maintenance and energy, especially if you’re leading an active lifestyle.
Sodium Levels
Be mindful of the sodium content, which can reach approximately 600-700 mg per serving, depending on how you season your dish. Keeping sodium levels in check is essential for heart health. If you’re looking to cut back, consider using herbs and spices instead of salt.
Eating out doesn’t have to compromise your health. For more insight on maintaining healthy sodium levels, check out the American Heart Association. Enjoy your cooking!
FAQs about Easy Chicken Kiev
Can I make Chicken Kiev ahead of time?
Absolutely! Preparing easy chicken kiev ahead of time is a fantastic way to streamline your meal planning. You can assemble the chicken, fill it with that delicious herbed butter, and then wrap it tightly in plastic wrap. Keep it in the fridge for up to 24 hours before cooking. When you’re ready to indulge, simply pop it in the oven or skillet. If you’re freezing, consider coating the chicken in breadcrumbs before freezing to save time later, or check out resources like Food Safety for proper freezing techniques.
What sides pair best with Chicken Kiev?
Pairing sides with easy chicken kiev can elevate your meal! Here are some delightful suggestions:
- Garlic Mashed Potatoes: The creaminess complements the savory chicken beautifully.
- Steamed Asparagus or Broccoli: A pop of green balances the richness of the dish.
- Simple Salad: A fresh green salad with a light vinaigrette adds a refreshing touch.
- Crusty Bread or Rolls: Perfect for soaking up any leftover butter.
Try mixing and matching these sides for a personalized touch!
How do I store leftover Chicken Kiev?
If you find yourself with leftover easy chicken kiev, storing it properly is essential. Allow it to cool to room temperature, then wrap it tightly in plastic wrap or place it in an airtight container. In the fridge, it will last for about 3 days. For longer storage, you can freeze it—for up to 2 months works well. Just thaw it in the fridge overnight before reheating. For delicious, crispy results, reheat in the oven rather than the microwave. This will keep that delightful crunch intact!
Conclusion on Easy Chicken Kiev
Recap of Key Points and Encouragement to Try the Recipe
In summary, this easy chicken kiev recipe is a straightforward yet flavorful dish that brings a touch of gourmet to your weeknight dinners. By using fresh ingredients and simple techniques, you can create a mouthwatering meal that impresses both family and friends.
Don’t hesitate to experiment — add your favorite herbs or spices to the garlic butter! Remember, the joy of cooking lies in making it your own. I invite you to give this recipe a try; you might discover a new favorite. For more culinary inspiration, check out BBC Good Food or Taste of Home. Happy cooking!
PrintEasy Chicken Kiev: Indulgent Homemade Delight for Food Lovers
Enjoy the indulgence of Easy Chicken Kiev, a delightful dish that combines tender chicken with a rich garlic herb butter. Perfect for food lovers seeking a homemade treat.
- Prep Time: 30 minutes
- Cook Time: 30 minutes
- Total Time: 1 hour
- Yield: 4 servings 1x
- Category: Main Dish
- Method: Baking and Frying
- Cuisine: European
- Diet: Gluten-Free (if using GF breadcrumbs)
Ingredients
- 4 boneless chicken breasts
- 100g unsalted butter, softened
- 2 cloves garlic, minced
- 2 tablespoons fresh parsley, chopped
- 1 tablespoon fresh dill, chopped
- 1 teaspoon lemon juice
- 1 cup all-purpose flour
- 2 eggs, beaten
- 2 cups breadcrumbs
- 1 teaspoon salt
- 1/2 teaspoon black pepper
- oil for frying
Instructions
- Preheat your oven to 180°C (350°F).
- In a bowl, mix the softened butter with garlic, parsley, dill, and lemon juice. Place the mixture on a piece of plastic wrap, shape it into a log, and freeze for 30 minutes.
- While the butter is chilling, prepare the chicken breasts by placing them between two sheets of plastic wrap and pounding them to an even thickness.
- Remove the butter from the freezer and cut it into slices. Place a slice in the center of each chicken breast and fold the edges over to seal.
- Dredge each chicken breast in flour, then dip in the beaten eggs, and finally coat with breadcrumbs.
- Heat oil in a pan over medium heat and fry the chicken until golden brown on both sides.
- Transfer the fried chicken to a baking dish and bake in the preheated oven for 15-20 minutes until cooked through.
- Let rest for a few minutes before serving.
Notes
- For extra flavor, consider adding herbs like thyme or tarragon to the butter mixture.
- Ensure the chicken is sealed well to prevent the butter from leaking during cooking.
Nutrition
- Serving Size: 1 chicken breast
- Calories: 400
- Sugar: 0g
- Sodium: 600mg
- Fat: 28g
- Saturated Fat: 12g
- Unsaturated Fat: 10g
- Trans Fat: 0g
- Carbohydrates: 29g
- Fiber: 1g
- Protein: 27g
- Cholesterol: 150mg
Keywords: Easy Chicken Kiev, homemade chicken, garlic butter chicken
