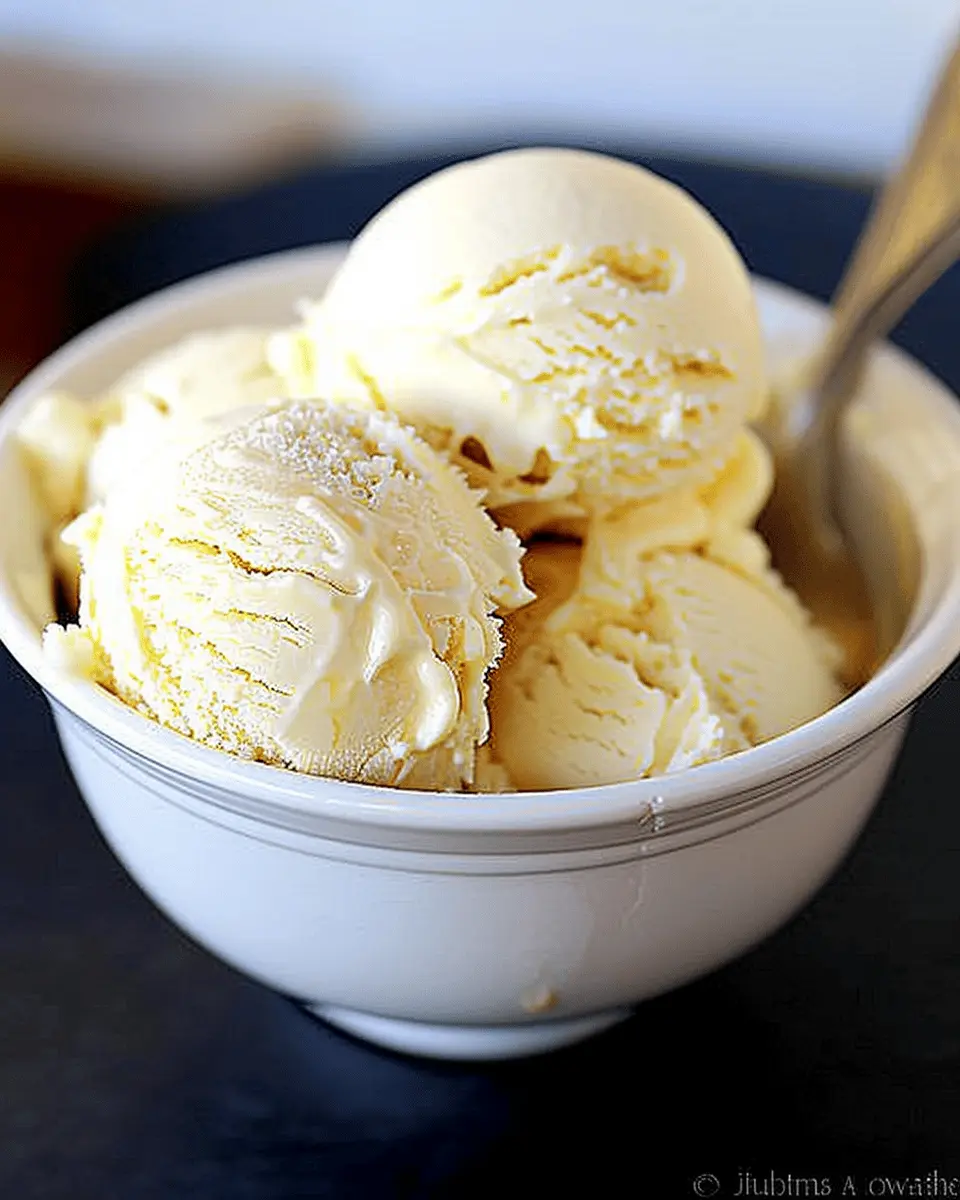
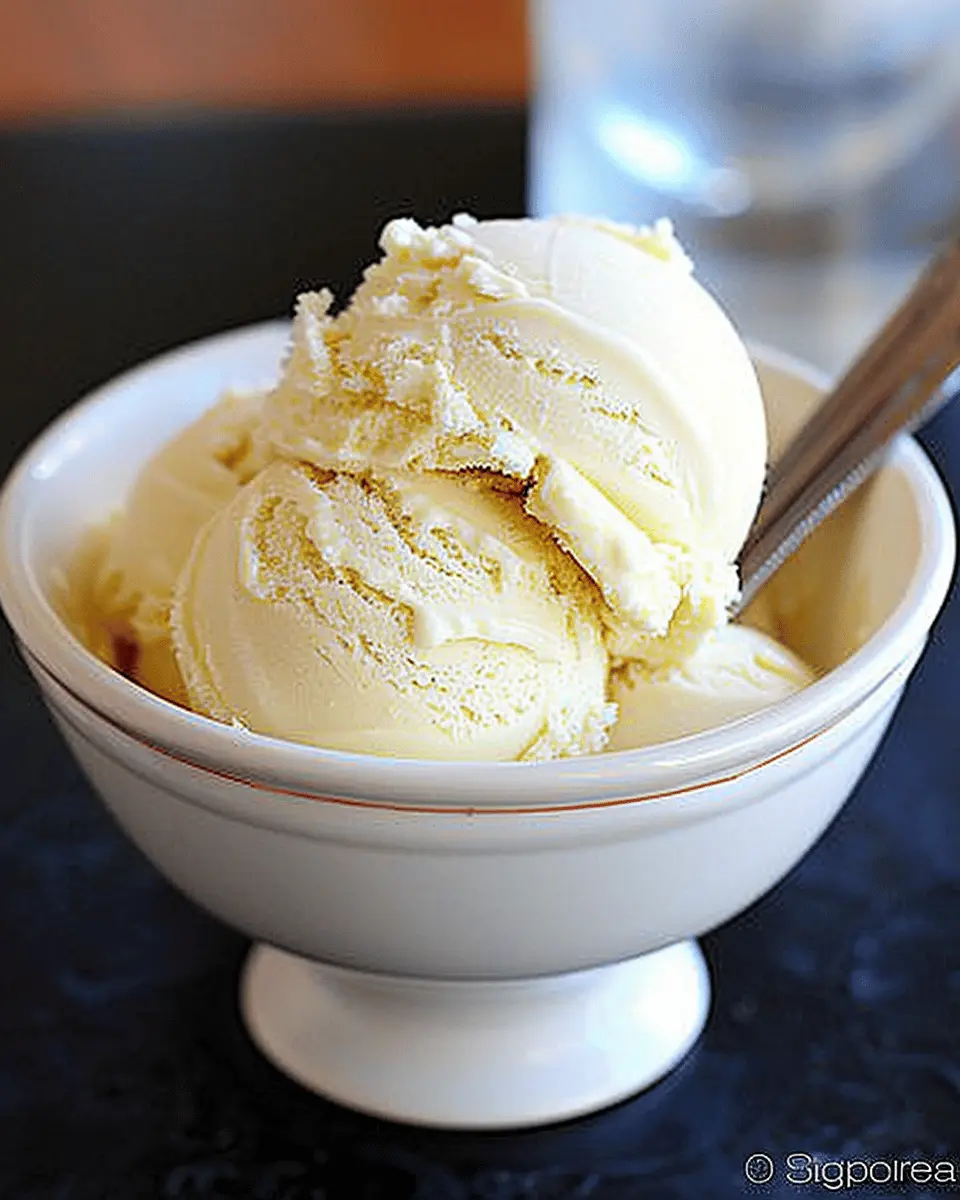
Introduction to Homemade Vanilla Ice Cream
Why Homemade Vanilla Ice Cream is a Game Changer
If you’ve ever enjoyed freshly made ice cream, you know it’s a world apart from store-bought varieties filled with preservatives and artificial flavors. Homemade vanilla ice cream not only lets you control the ingredients, but it also opens up a realm of creativity; you can adjust sweetness, add spices, or even infuse it with your favorite flavors. According to a survey by the International Dairy Foods Association, 40% of Americans prefer homemade ice cream for its rich texture and taste. Why? Because it’s simply unbeatable!
Think about it: creamy, rich, and velvety vanilla ice cream that melts in your mouth and is completely customized to your liking. Whether you’re having a warm summer night or a cozy winter evening, homemade vanilla ice cream can elevate any occasion. It has a nostalgic charm that evokes memories of family gatherings or summer road trips, making it so much more than just dessert.
The Joy of Making Your Own Ice Cream
There’s a certain joy that comes from making your own treats. How often do you get to experience the satisfaction of whipping up something delicious from scratch? Making homemade vanilla ice cream can be almost therapeutic! Picture yourself in the kitchen, blending simple ingredients like high-quality cream, sugar, and real vanilla. The process is straightforward, and the end result is thoroughly rewarding.
As you craft your ice cream, you’ll learn more about flavor combinations and techniques. Want a hint of caramel or a swirl of fruit? Go for it! You are the creator of your frozen masterpiece. Plus, making ice cream can be a fantastic group activity with friends or family, sparking conversation and creativity in ways take-out simply can’t.
To get started, check out reputable sources like Serious Eats or The Kitchn for tips and tricks. Remember, the joy of making food at home is in experimenting—don’t be afraid to make it your own!
So roll up your sleeves, gather your ingredients, and get ready to dive into the delightful world of homemade vanilla ice cream!
Ingredients for Homemade Vanilla Ice Cream
Essential Ingredients You’ll Need
Creating homemade vanilla ice cream is surprisingly simple and requires just a handful of essential ingredients. Here’s what you’ll need:
- Heavy Cream: About 2 cups, this is the foundation for a rich and creamy texture.
- Whole Milk: You’ll want 1 cup of whole milk for the perfect balance of creaminess and lightness.
- Granulated Sugar: About 3/4 cup to sweeten your mix—feel free to adjust according to your taste.
- Pure Vanilla Extract: Using 1 tablespoon of high-quality vanilla will elevate the flavor significantly. Real vanilla extract makes all the difference!
Optional Special Ingredients for Extra Flavor
To take your homemade vanilla ice cream to the next level, consider adding some optional ingredients:
- Sea Salt: Just a pinch can enhance the sweet flavors.
- Egg Yolks: For a custard-style ice cream, incorporating 3 egg yolks creates a smooth texture and richness.
- Mix-ins: Think about adding crushed chocolate or nuts for fun surprises in every scoop!
Making ice cream at home is not just about the ingredients; it’s also about the love and creativity you put into it! If you’re interested in tips for choosing quality vanilla, check out this guide from Fine Cooking.
Step-by-Step Preparation of Homemade Vanilla Ice Cream
Making homemade vanilla ice cream is a delightful way to satisfy your sweet tooth and impress your friends and family. The process is straightforward, and you don’t need to be a culinary wizard to pull it off. Let’s dive into the steps that will guide you from fresh ingredients to a creamy treat!
Gather Your Ingredients
Before you begin, it’s essential to gather all the necessary ingredients. Here’s what you’ll need:
- 2 cups heavy cream
- 1 cup whole milk
- 3/4 cup granulated sugar
- 1 tablespoon pure vanilla extract
- A pinch of salt
Having everything ready will streamline the process and ensure that you don’t have to run to the store halfway through your ice cream adventure. Did you know that using pure vanilla extract can significantly enhance the flavor? It’s worth splurging a little here!
Blend All Ingredients Together
In a medium mixing bowl, combine the heavy cream, whole milk, granulated sugar, vanilla extract, and salt. Here’s how to do it smoothly:
-
Mix: Use a whisk to blend everything until the sugar is fully dissolved. This will take about 2-3 minutes. The mixture will have a wonderfully creamy consistency.
-
Taste Test: Here’s where it gets fun! Take a tiny taste of the mixture. Is it sweet enough? Feel free to adjust with a bit more sugar or vanilla extract if needed.
-
Chill: Once you’re satisfied with the flavor, cover the bowl with plastic wrap and refrigerate it for at least 1 hour. Chilling helps enhance the flavor and makes for a smoother texture in the final product.
Pour Mixture into Ice Cream Maker
After chilling, it’s time for the fun part—using your ice cream maker! Here’s what to do:
-
Prep the Ice Cream Maker: If you have a pre-freeze style ice cream maker, ensure the bowl has been in the freezer for at least 24 hours ahead of time.
-
Pour Mixture: Carefully pour your chilled mixture into the ice cream maker’s bowl. Make sure not to overfill it; the mixture needs space to churn and expand.
-
Churn: Turn on your ice cream maker and let it work its magic. Depending on your model, this can take anywhere from 20 to 40 minutes. You’ll know it’s ready when you see a thick, creamy texture.
Freezing the Ice Cream
Once your homemade vanilla ice cream is churned to creamy perfection, it’s time to freeze it:
-
Transfer: Scoop the ice cream from the maker into a clean, airtight container. Press down gently to remove any air pockets.
-
Cover: Seal the container with a tight lid. This will help keep your ice cream fresh and tasty.
-
Freeze: Place the container in the freezer for at least 4 hours. This step allows the ice cream to firm up into the desired texture.
Optional Firming Up Process
If you prefer your homemade vanilla ice cream extra firm, consider the optional firming up process:
-
Overnight Freeze: If you’re planning to serve your ice cream the next day, an overnight freeze is ideal. It gives the ice cream ample time to reach that perfect scoopable consistency.
-
Serving Tip: When it’s time to serve, let the container sit at room temperature for about 5-10 minutes. This makes scooping easier and prevents any hard, icy chunks.
And there you have it! Follow these steps, and you’ll be savoring your delicious, creamy homemade vanilla ice cream in no time. Now that you’ve mastered the basics, why not try adding mix-ins like chocolate chips or fresh fruit? The possibilities are endless! Ready to get started? Grab those ingredients, and let’s make ice cream magic happen.
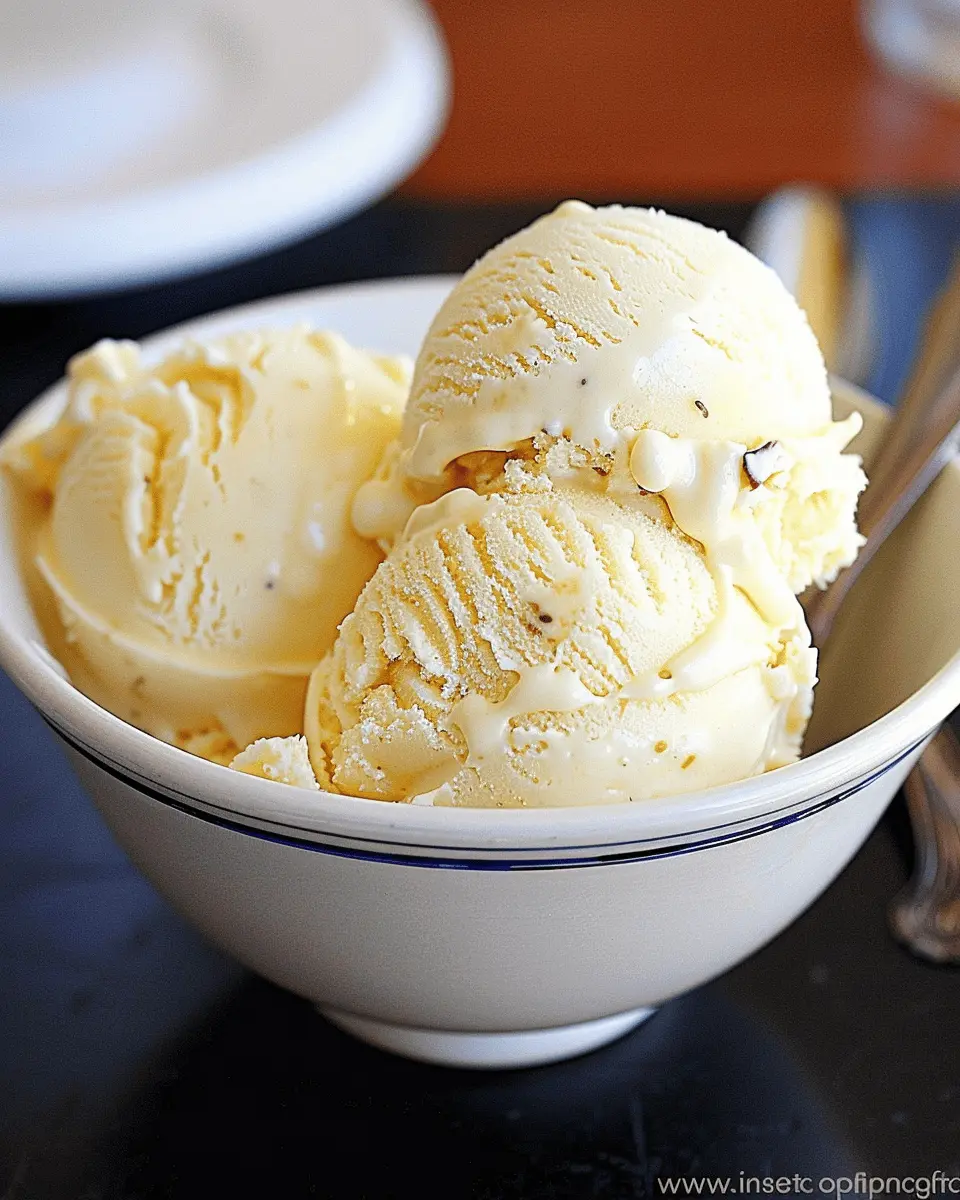
Variations on Homemade Vanilla Ice Cream
Adding Mix-Ins for Extra Texture
Once you’ve mastered the basic homemade vanilla ice cream, it’s time to let your creativity shine! One of the easiest ways to elevate your ice cream is by adding mix-ins. Think crunchy, chewy, or even swirly textures that can complement the smoothness of the cream. Here are some ideas to consider:
- Nuts: Chopped almonds, walnuts, or pecans can add a delightful crunch.
- Fruits: Fresh strawberries, raspberries, or even zesty citrus can make your ice cream burst with flavor.
- Cookie Crumbs: Crush some chocolate sandwich cookies or graham crackers for a delicious twist.
Just remember to mix in your additions gently to maintain that creamy texture, and don’t add too much—balance is key! For more inspiration on mix-ins, check out resources like The Ice Cream Shop.
Infusing Unique Flavors Beyond Vanilla
If you’re feeling adventurous, why stop at vanilla? Infusing other flavors is an excellent way to personalize your homemade vanilla ice cream. Here are a few ideas to get you started:
- Herbal Infusions: Try adding fresh mint, basil, or lavender during the heating process. Strain them out before churning for an aromatic ice cream experience.
- Coffee or Tea: Incorporate espresso or steep your favorite tea bags in the milk mixture. This can give your ice cream a rich, deep flavor that’s perfect for an afternoon pick-me-up.
- Exotic Spices: A pinch of cardamom or cinnamon can transform your basic recipe, providing warmth and depth.
Feeling inspired? The possibilities are indeed endless! Home chefs have found that experimenting with flavors can lead to delightful new favorites, making your kitchen a true sanctuary of deliciousness.
Cooking Tips and Notes for Homemade Vanilla Ice Cream
Tips for Achieving the Creamiest Texture
Creating the ultimate homemade vanilla ice cream involves some key techniques to enhance its creaminess. First and foremost, choose a high-fat cream—preferably heavy cream—for a luxurious mouthfeel. Incorporating ingredients like egg yolks adds richness; don’t skip on the tempering process to avoid scrambling them. If you have an ice cream maker, that’s fantastic! Churning the mixture while freezing helps incorporate air, resulting in that soft, creamy texture we crave. Finally, for an extra indulgent finish, consider adding a tablespoon of vanilla bean paste for depth of flavor.
Notes on Storage and Serving
Storing your homemade vanilla ice cream properly is crucial to maintain its optimal texture. Use an airtight container to prevent ice crystals from forming. When serving, let the ice cream sit at room temperature for a few minutes to soften—it’ll scoop more easily! For scoopable perfection, consider investing in a warm ice cream scooper or running it under warm water before serving. If you’re feeling adventurous, check out some creative toppings to elevate your ice cream experience—for example, caramel sauce or crushed cookies!
For additional tips, you might enjoy exploring this article on ice cream making that dives deep into techniques and flavors. Happy ice cream making!
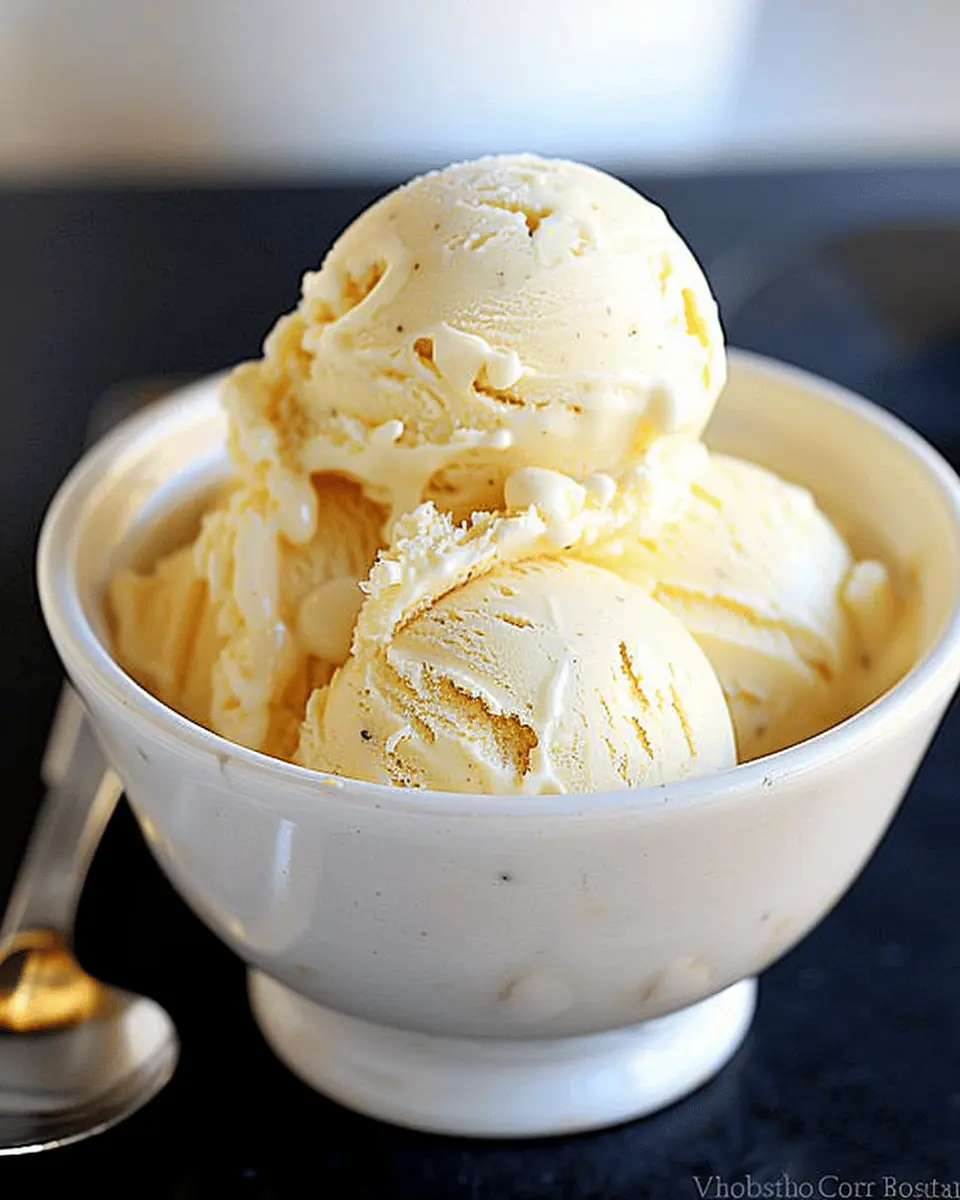
Serving Suggestions for Homemade Vanilla Ice Cream
Creating your own homemade vanilla ice cream is just the beginning of a delicious adventure! To make the most of this creamy delight, consider these serving suggestions that will elevate your dessert experience.
Perfect Pairings for Your Ice Cream
The beauty of homemade vanilla ice cream lies in its versatility. Here are some classic and unexpected pairings:
- Fresh Fruit: Sliced strawberries, peaches, or even tropical mangoes bring a refreshing contrast to the creamy texture.
- Chocolate Syrup or Caramel Sauce: Drizzling warm chocolate or caramel adds a delightful richness.
- Nuts: Roasted almonds or pecans add a crunchy texture that complements the smooth ice cream beautifully.
For a twist, try serving your homemade vanilla ice cream alongside a strong cup of freshly brewed coffee or a zesty herbal tea; the contrast can be utterly delightful.
Creative Ways to Serve Ice Cream
Presentation can make all the difference! Here are some fun serving ideas:
- Ice Cream Sandwiches: Use cookies or brownies to create a delicious ice cream sandwich.
- Sundae Bar: Set up a small sundae bar with various toppings. This is a hit at parties and allows guests to customize their treats!
- Milkshakes: Blend your homemade vanilla ice cream with a splash of milk for a decadent milkshake that’s perfect for a summer afternoon.
Embrace your creativity and make each scoop a little extra special! For more inspiration, check out this guide on creative ice cream toppings from Serious Eats.
Transform your simple homemade vanilla ice cream into a delightful, multi-sensory experience that you and your friends will love!
Time Breakdown for Homemade Vanilla Ice Cream
Preparation Time
When you’re gearing up to make your homemade vanilla ice cream, you’ll want to set aside about 15-20 minutes for preparation. This includes gathering your ingredients and whipping up the creamy base. Don’t forget to chill your ice cream maker beforehand for the best results!
Total Time
In total, you’re looking at about 4-6 hours from start to finish, which accounts for chilling and churning. Most of this time is hands-off, letting your delicious creation freeze to its soft, scoopable perfection. While you wait, consider taking a quick break or preparing some fun toppings to enjoy later.
Making homemade vanilla ice cream is not only a rewarding experience, but it also offers a tasty treat that will impress your family and friends. Plus, you can experiment with flavors and mix-ins! For a deeper dive into ice cream essentials, check out this great guide on making ice cream from Serious Eats.
Nutritional Facts for Homemade Vanilla Ice Cream
When indulging in homemade vanilla ice cream, it’s good to keep an eye on the nutritional aspects. Here’s a quick breakdown to satisfy your curiosity.
Calories
A typical serving of homemade vanilla ice cream (about half a cup) contains around 200 to 250 calories. This means you can enjoy a creamy scoop without straying too far from your daily caloric intake.
Sugar Content
Most recipes will yield approximately 20-25 grams of sugar in a serving. While it’s a delightful treat, it’s wise to consider this if you’re monitoring your sugar consumption.
Fat Content
Homemade vanilla ice cream can have around 10-15 grams of fat per serving, given the richness of the cream. If you’re looking to lighten it up, consider using milk alternatives or adjusting the cream-to-milk ratio.
Understanding these nutritional facts can help you enjoy your delicious creation in moderation. For more information on healthy eating habits, check out the American Heart Association.
FAQs about Homemade Vanilla Ice Cream
Can I make this ice cream without an ice cream maker?
Absolutely! Many people enjoy the rich, creamy delight of homemade vanilla ice cream without using an ice cream maker. A simple method involves pouring your mixture into a shallow dish and placing it in the freezer. Every 30 minutes, stir the mixture with a fork to break up any ice crystals until it reaches your desired consistency. This often takes about 2-4 hours, but the flavor is worth the wait!
How long does homemade ice cream last in the freezer?
Homemade vanilla ice cream can last in your freezer for about 2-3 weeks. However, for the best texture and flavor, it’s recommended to enjoy it fresh within the first week. Make sure to store it in an airtight container to minimize exposure to air, which can lead to freezer burn. For more tips on preserving homemade treats, check out this helpful preservation guide.
Can I use alternative milks or creams?
Yes, you can totally experiment with alternative milks or creams! Whether you’re dairy-free or just looking to try something new, options like almond milk, coconut cream, or oat milk can create delicious variations of homemade vanilla ice cream. Just keep in mind that using lighter options may produce a slightly different texture, so it might be worth experimenting a bit to find your perfect combination.
So, there you have it! If you have more questions about homemade vanilla ice cream, feel free to drop them in the comments below. Happy churning!
Conclusion on Homemade Vanilla Ice Cream
The Takeaway: Enjoying Your Homemade Treat
Creating homemade vanilla ice cream is more than just a recipe; it’s an experience! Imagine the joy of savoring a scoop of creamy, velvety ice cream made right in your kitchen. It’s a delightful way to reconnect with your culinary skills while indulging in a comforting dessert.
Pair your homemade vanilla ice cream with fresh berries, cookies, or even a drizzle of chocolate sauce for an added twist. Don’t forget to share your creation, as there’s nothing like enjoying this treat with friends or family. For more tips on perfecting your ice cream desserts, check out Serious Eats or American’s Test Kitchen.
Don’t wait—create and enjoy this delicious homemade treat today!
PrintHomemade Vanilla Ice Cream: Indulgent Treat for Every Occasion
Indulge in the creamy, rich goodness of homemade vanilla ice cream, perfect for any occasion.
- Prep Time: 10 minutes
- Total Time: 4 hours 10 minutes
- Yield: 4 servings 1x
- Category: Dessert
- Method: Churning
- Cuisine: American
- Diet: Vegetarian
Ingredients
- 2 cups heavy cream
- 1 cup whole milk
- 3/4 cup granulated sugar
- 1 tablespoon pure vanilla extract
- 1/4 teaspoon salt
Instructions
- In a mixing bowl, whisk together the cream, milk, sugar, vanilla, and salt until the sugar is dissolved.
- Pour the mixture into an ice cream maker and churn according to the manufacturer’s instructions.
- Once the ice cream reaches a soft-serve consistency, transfer it to a lidded container.
- Freeze for at least 4 hours or until firm.
Notes
- For a richer flavor, consider using vanilla bean instead of extract.
- Add chocolate chips or fruit for a fun twist.
Nutrition
- Serving Size: 1/2 cup
- Calories: 250
- Sugar: 20g
- Sodium: 50mg
- Fat: 20g
- Saturated Fat: 12g
- Unsaturated Fat: 6g
- Trans Fat: 0g
- Carbohydrates: 22g
- Fiber: 0g
- Protein: 3g
- Cholesterol: 70mg
Keywords: Homemade Vanilla Ice Cream