Ninja Creami Vanilla Ice Cream Recipe Overview
Why Homemade Ice Cream?
Have you ever wondered why so many people rave about homemade ice cream? The answer lies in both quality and creativity. When you whip up your own batch using the Ninja Creami, you have full control over ingredients, flavors, and textures. Plus, there’s something wonderfully satisfying about crafting your own treats!
Consider this: store-bought ice cream often contains additional preservatives and artificial flavors that can detract from the pure taste of your chosen ingredients. In contrast, making your own allows you to savor every delightful spoonful of real vanilla, fresh milk, and cream. You can choose organic products or even experiment with alternative sweeteners if you’re looking to keep things a little healthier.
And here’s a fun twist: you’ve got the freedom to get creative! Whether you want to infuse it with matcha, mix in your favorite toppings, or even play around with seasonal fruits, the Ninja Creami vanilla ice cream recipe is your personal canvas. The versatility is truly endless!
Key Ingredients and Their Benefits
When it comes to making the perfect vanilla ice cream, the ingredients are key. Here’s what you’ll need:
- Heavy Cream: This is the star player for that rich and creamy texture.
- Whole Milk: A great complement to heavy cream, adding a bit of lightness while keeping it dairy-rich.
- Granulated Sugar: Sweetness is essential! Adjust this to fit your taste preferences.
- Pure Vanilla Extract: For that aromatic, comforting flavor that’s hard to resist.
Each of these components not only brings its unique characteristics but also contributes to that delightful, creamy consistency we all love. In fact, a study by the Ice Cream Association suggests that using high-quality ingredients can elevate homemade ice cream to gourmet status.
Whether you’re making a sundae for a casual weekend dessert or considering a fun project for a small gathering, this Ninja Creami vanilla ice cream recipe ensures that you’ll impress family and friends with your culinary skills. So why wait? Dive into this delightful experience and get ready to indulge!
For more tips on ice cream preferences and flavors, check out resources like Serious Eats for inspiration.
Ingredients for Ninja Creami Vanilla Ice Cream
Essential ingredients you’ll need
If you’re excited to whip up a batch of your own Ninja Creami vanilla ice cream, you’ll need just a few basic, yet crucial ingredients to get started:
- Heavy cream: This adds that rich, creamy texture that makes vanilla ice cream irresistible.
- Whole milk: Balances the richness of the cream and creates the perfect consistency.
- Granulated sugar: Sweetens the mix; feel free to adjust to your taste.
- Vanilla extract: Provides the essential vanilla flavor—look for pure vanilla extract for the best results.
- Salt: Just a pinch to enhance the overall flavor profile.
Optional ingredients for customization
Once you’ve mastered the basics, you might want to add your own flair! Here are some optional ingredients to consider for your Ninja Creami vanilla ice cream recipe:
- Vanilla bean: Add seeds from a real vanilla bean for a gourmet touch.
- Mix-ins: Think chocolate chips, sprinkles, or crushed cookies for added texture.
- Flavor extracts: Experiment with almond or coconut extract for a unique twist.
These options allow you to create a customized treat that’s truly your own! If you’re looking for inspiration, check out this resource on flavor pairings to elevate your ice cream experience. Ready to blend these ingredients into something delicious? Let’s get churning!
Step-by-step Preparation of Ninja Creami Vanilla Ice Cream
Making your own ice cream at home can feel like a delightful culinary adventure, especially with the help of a Ninja Creami. Whether you’re craving a sweet treat after a long day or want a fun dessert for guests, this Ninja Creami vanilla ice cream recipe will have you covered. Let’s dive into the step-by-step process to create a smooth, creamy vanilla delight!
Gather your ingredients
Before you begin, it’s essential to have everything at your fingertips. Here’s a simple list of what you’ll need:
- 2 cups heavy cream – This is your base, adding richness and creaminess.
- 1 cup whole milk – Provides a perfect balance and lightens the richness.
- 3/4 cup granulated sugar – Sweetens the mixture, but feel free to adjust to your preference.
- 1 tablespoon pure vanilla extract – This is the star of the show, providing that signature flavor.
- A pinch of salt – Enhances the sweetness and overall taste.
Don’t forget to check your kitchen for any necessary equipment, including a measuring cup, mixing bowl, whisk, and of course, your Ninja Creami!
Measuring and mixing your base
Once you have all your ingredients ready, it’s time to whip them together. In a mixing bowl, follow these steps:
- Measure out the heavy cream and whole milk, then pour them into your bowl.
- Add the sugar next, and whisk the ingredients together until the sugar has completely dissolved. Ensuring there’s no graininess will enhance the final texture of your ice cream.
- Afterward, stir in the vanilla extract and salt. This simple combination creates a base that showcases the delightful vanilla flavor.
Keep in mind that the quality of your vanilla extract can dramatically affect the end result, so consider using high-quality options or even freshly scraped vanilla bean!
Freezing the mixture properly
Now that you’ve prepared the base, it’s time for a crucial step: freezing it. Here’s how to do it right:
- Pour the mixture into a Ninja Creami container, making sure not to exceed the maximum fill line.
- Seal the lid tightly, place it in the freezer, and allow it to freeze for at least 24 hours. This step is necessary to get that perfect texture, as it ensures the mixture is solid.
Be patient! While it may be tempting to speed up the freezing, taking this time will pay off later with a creamier texture.
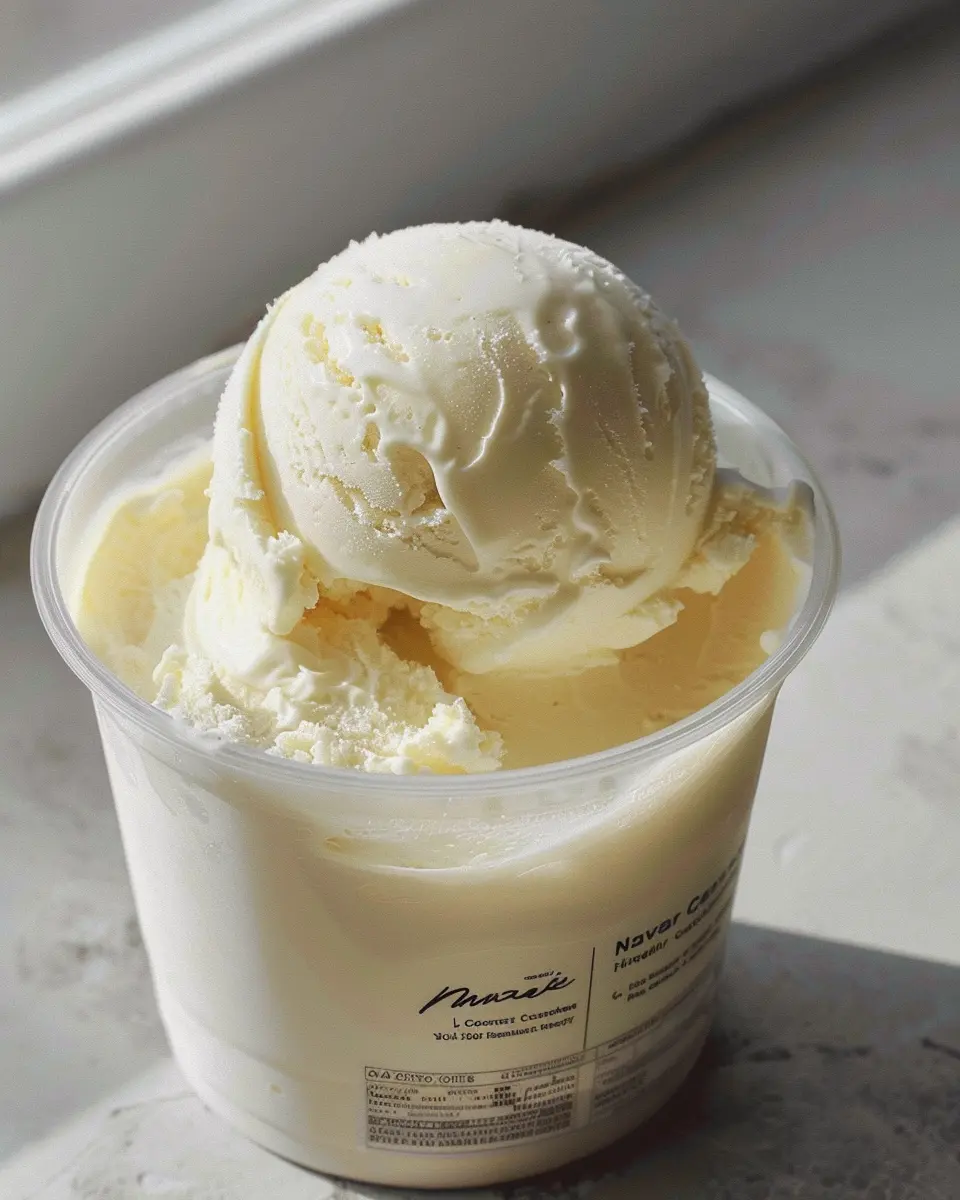
Processing the frozen base in the Ninja Creami
Once your base is frozen solid, get excited because the next part is where the magic happens. Here’s what you need to do:
- Remove the container from the freezer and let it sit for a couple of minutes; this will make it easier for the Ninja Creami to process.
- Place the container in the Ninja Creami and select the “Ice Cream” function. The machine will work its magic, creating that smooth and creamy consistency you’re aiming for.
- If you prefer a softer texture, you can always use the “Re-spin” feature to achieve your desired creaminess.
Feel free to get creative here: consider adding mix-ins like chocolate chips or a swirl of caramel during the processing stage for an extra flavor kick!
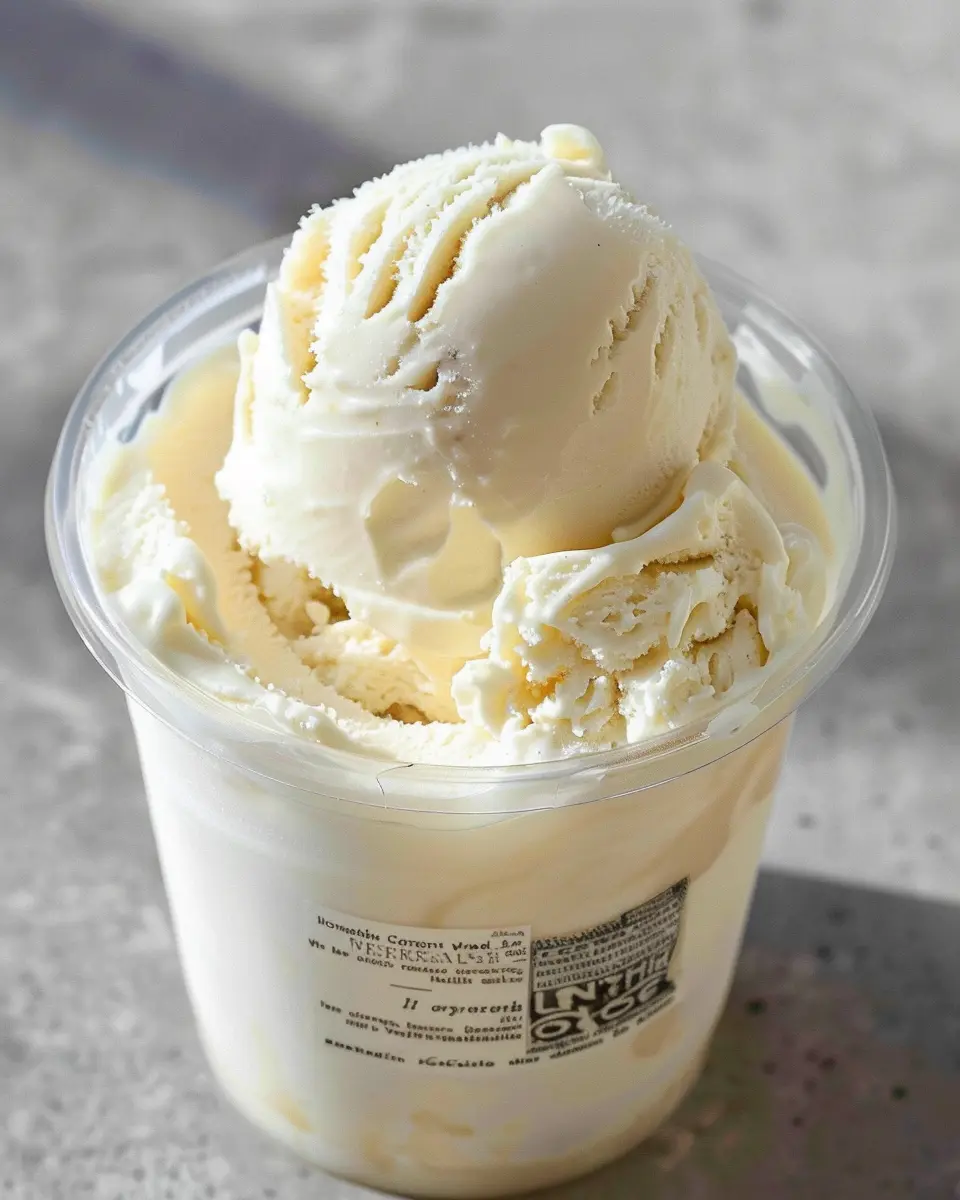
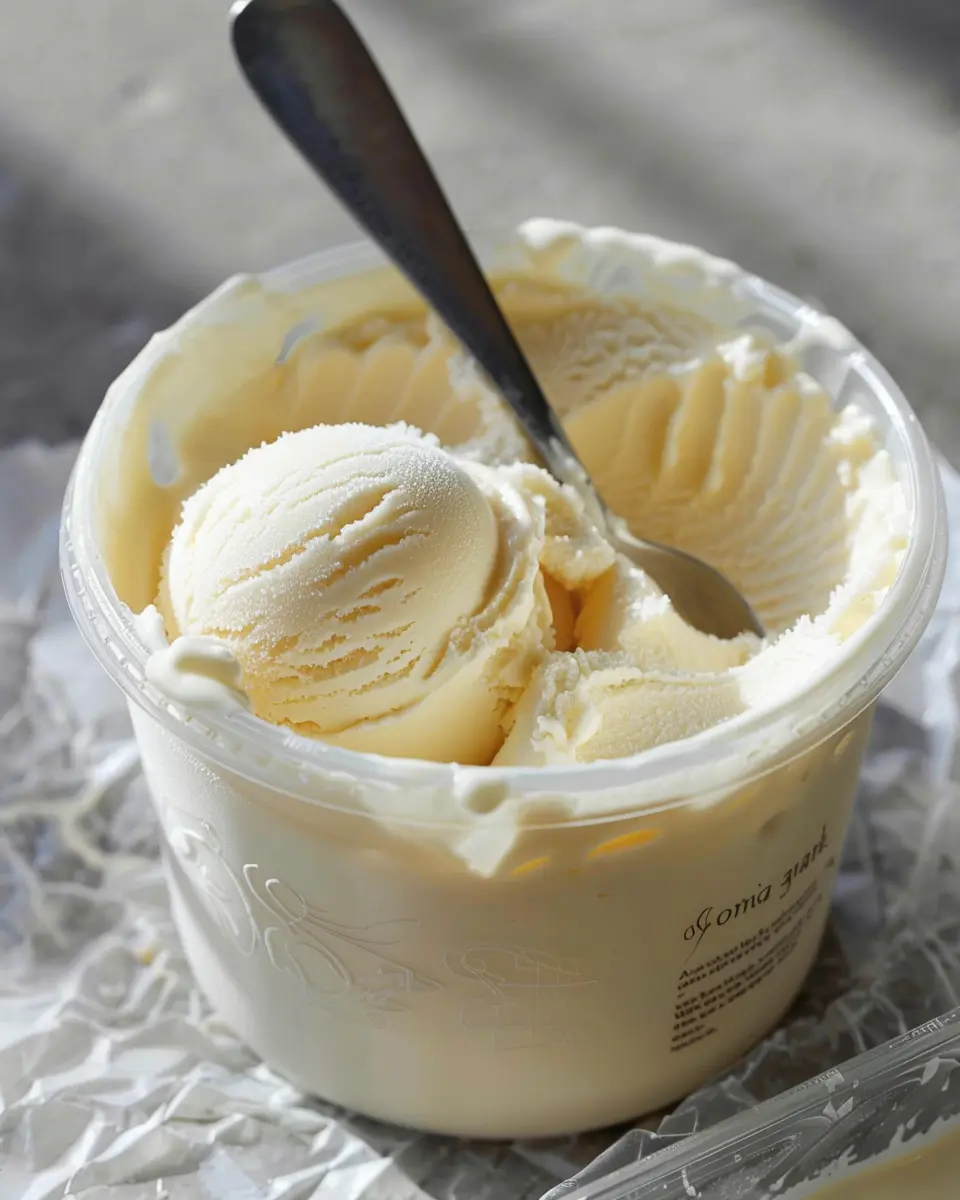
Serving your delicious homemade vanilla ice cream
Finally, the moment you’ve been waiting for is here—serving your delicious creation!
- Scoop the ice cream into bowls or cones. It’s perfect on its own, but you can also top it off with some fresh fruits, nuts, or a drizzle of chocolate sauce.
- For the ultimate presentation, consider adding a sprig of mint or a few berries on top for color and flavor.
And there you have it—you’ve successfully created your own Ninja Creami vanilla ice cream! Not only is the process simple, but you can enjoy the satisfaction of knowing you made it from scratch. Now, share your concoction with friends or keep it all to yourself (no judgment here!). Enjoy your creamy creation!
Variations of Ninja Creami Vanilla Ice Cream
When it comes to making your Ninja Creami vanilla ice cream recipe shine, there are various delicious options to explore. Let’s dive into some fun variations that will cater to everyone’s tastes and dietary preferences.
Egg-free Vanilla Ice Cream Option
If you’re avoiding eggs, it’s straightforward to whip up a creamy Ninja Creami vanilla ice cream without them. Simply substitute the eggs with cornstarch or a vegan option like coconut cream. This not only keeps the flavor intact but also adds a silky texture that you’ll love. Who knew you could achieve that classic ice cream creaminess without eggs?
Lactose-free and Low FODMAP Version
For those sensitive to dairy or following a low FODMAP diet, there’s good news! You can easily make lactose-free vanilla ice cream using lactose-free milk or a plant-based milk like almond or oat. Aim for those with low FODMAP certifications for added assurance. This version is just as creamy and delightful—perfect for those who want to enjoy their ice cream without compromise. Check out resources like Monash University’s Low FODMAP Diet for ingredient swapping.
Flavor Variations and Add-ins
One of the best parts of making ice cream at home is personalizing it! Here are some ideas to kick your Ninja Creami vanilla ice cream recipe up a notch:
- Mix-ins: Consider adding chocolate chips, crushed cookies, or sprinkles to the mixture before freezing.
- Swirls and Sauces: Drizzle in some caramel or chocolate sauce right before serving for an extra sweet touch.
- Fruit Flavors: Incorporating fresh fruits, such as strawberries or mangoes, can infuse your ice cream with vibrant flavors.
Feel free to experiment and find your favorite combinations—after all, the joy of homemade ice cream is in the creativity!
Cooking Tips and Notes for Ninja Creami Vanilla Ice Cream
Common Mistakes to Avoid
When making your Ninja Creami vanilla ice cream recipe, it’s easy to overlook some details. Here are a few common blunders to watch for:
- Skipping the Chill Time: Ensure your mixture has fully frozen for at least 24 hours before processing. Rushing this step can lead to a mushy texture.
- Using Low-Quality Vanilla: The quality of vanilla extract can make or break your ice cream. Always opt for pure vanilla extract for the best flavor.
- Overmixing: Once you add your mix to the Ninja Creami, avoid overprocessing. A few pulses will create a creamy texture without turning it into slush.
Best Practices for Achieving the Perfect Texture
To get that dreamy, creamy consistency everyone loves, consider these tips:
- Balance Your Ingredients: The right ratio of cream to milk is crucial. A higher cream content generally results in a richer texture.
- Add Mix-Ins at the Right Time: If you’re adding in toppings like chocolate chips or cookie crumbs, sprinkle them in during the last blending stage to maintain their integrity.
- Experiment with Flavors: Don’t be afraid to try different vanilla options or enhance the base with ingredients like almond extract for a unique twist.
For more insights into ice cream fundamentals, check out this guide on Flavor Pairing. Happy churning!
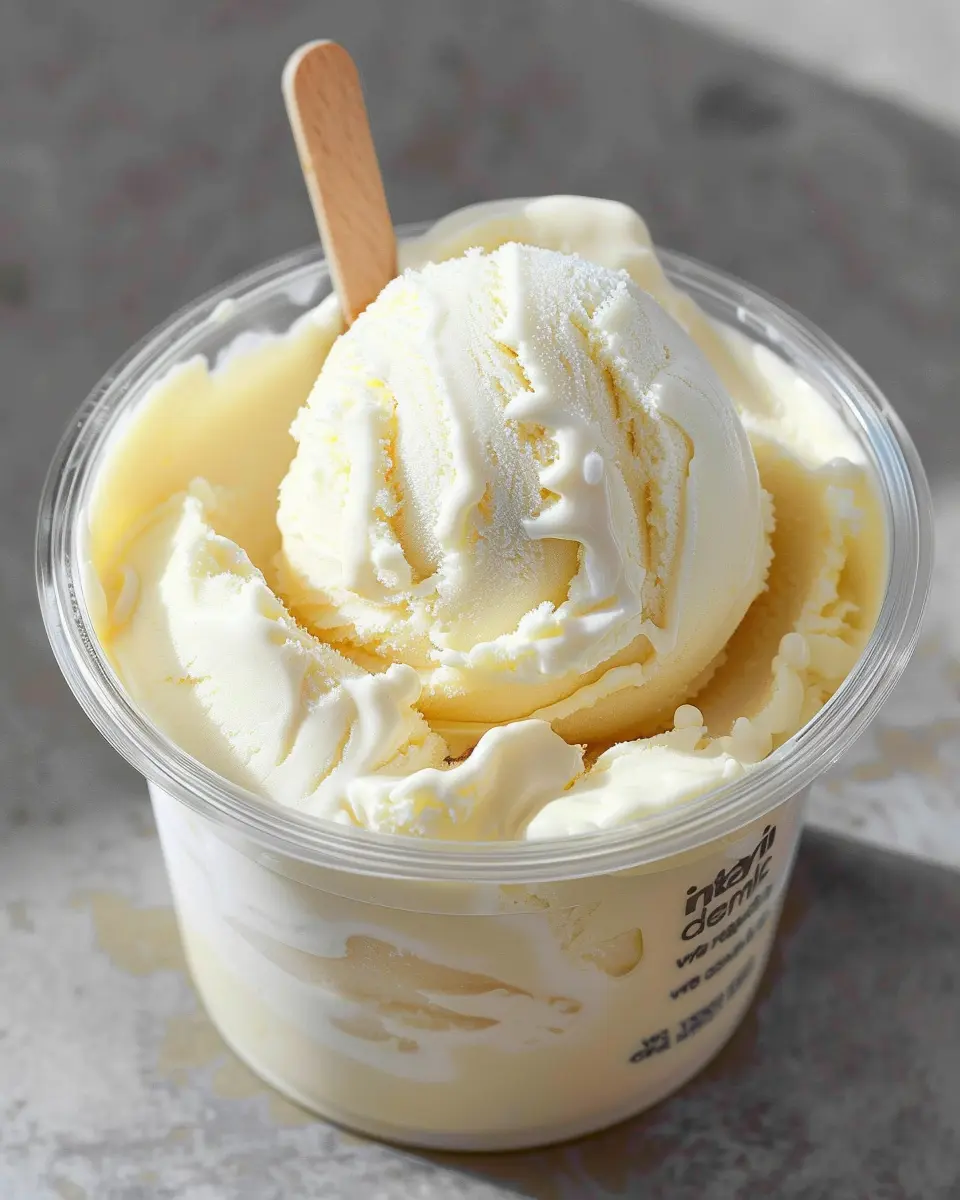
Serving Suggestions for Ninja Creami Vanilla Ice Cream
Pairing with Desserts and Toppings
When it comes to enjoying your Ninja Creami vanilla ice cream recipe, think beyond the bowl! This creamy delight pairs beautifully with various desserts and toppings. Consider adding:
- Fresh Fruits: Strawberries, raspberries, or blueberries add a refreshing burst of flavor and a pop of color.
- Nuts: A sprinkle of chopped almonds or pecans gives a satisfying crunch.
- Sauces: Drizzle warm chocolate or caramel sauce for an indulgent twist.
Whether serving it alongside a slice of pie or as a scoop atop brownies, the flavor combinations are endless!
Creative Serving Ideas
You can elevate your Ninja Creami vanilla ice cream experience with a few creative serving ideas. Try making an ice cream sandwich with your favorite cookies, or whip up a decadent sundae topped with whipped cream and a cherry. For a lighter option, consider blending the ice cream into a smoothie for a delightful frozen treat.
No matter how you enjoy it, these serving suggestions will surely impress your friends and satisfy your sweet tooth! For even more ideas, check out Food Network’s dessert inspirations.
Time Breakdown for Ninja Creami Vanilla Ice Cream
Preparation Time
Creating your Ninja Creami vanilla ice cream recipe is a breeze! You’ll need about 10 minutes to gather all the ingredients and blend them to perfection. Trust me, the aroma of vanilla will make this process delightful!
Freezing Time
Now, the waiting game begins. Once blended, pour your mixture into the ice cream container and let it freeze for at least 24 hours. This step is crucial for achieving that perfect creamy texture.
Total Time
In total, expect around 1 day and 10 minutes. While it takes some time to freeze, you’re rewarded with a refreshing treat that’s perfect for any occasion. This downtime is also an excellent opportunity to plan your toppings! For ideas, check out Food Network for inspiration.
Nutritional Facts for Ninja Creami Vanilla Ice Cream
Calories per serving
If you’re curious about the indulgence of enjoying a bowl of your homemade Ninja Creami vanilla ice cream, you’ll be pleased to know that each serving typically contains around 150 calories. This makes it a guilt-free treat on those warm evenings or when you’re just craving something sweet.
Key nutrition highlights
When whipping up this delicious dessert, you can rest easy knowing it also packs some nutritional benefits:
- Low in Sugar: With only about 12 grams of sugar, this ice cream keeps those sweet cravings in check.
- Rich in Calcium: Thanks to the dairy, it typically provides a decent dose of calcium, contributing to bone health.
- Versatile Ingredients: Feel free to customize with add-ins like fresh fruits or nuts for added fiber and healthy fats.
For more insights on healthy dessert ideas, you can check out resources from the American Heart Association. Enjoy your homemade treat without sacrificing your health goals!
FAQs about Ninja Creami Vanilla Ice Cream
When it comes to making your own Ninja Creami vanilla ice cream, questions are bound to pop up. Here are some friendly answers to help you navigate any concerns while enjoying this delightful treat.
How can I adjust the sweetness of my ice cream?
One of the beauties of making your own ice cream is that you can tailor the sweetness to your liking! If you prefer a less sweet version, consider reducing the sugar by 1-2 tablespoons, or even substituting with natural sweeteners like honey or maple syrup. Just remember that altering the sugar content might affect the creaminess of your ice cream. It’s all about experimenting to find that perfect balance for your palate.
What’s the best way to store leftover ice cream?
While we love a good scoop of Ninja Creami vanilla ice cream, sometimes there are leftovers. To keep your ice cream fresh and enjoyable, transfer it to an airtight container, pressing a piece of parchment paper against the surface to minimize air exposure. Store it in the coldest part of your freezer. It should stay creamy for about 1-2 weeks — if it lasts that long!
Can I use non-dairy alternatives in this recipe?
Absolutely! The Ninja Creami vanilla ice cream recipe is versatile. You can substitute heavy cream and milk with almond milk, coconut milk, or any other non-dairy options. Keep in mind that the end result may vary in texture and flavor, so opt for full-fat coconut milk for a creamier consistency. Many find non-dairy ice creams quite satisfying; you might even discover a new favorite!
For more tips on homemade ice cream, check out resources like the Ice Cream Makers Association or The Spruce Eats. Enjoy your creamy adventures!
Conclusion on Ninja Creami Vanilla Ice Cream
Recap and encouragement to try it out
As we’ve explored in this Ninja Creami vanilla ice cream recipe, the beauty of crafting your own ice cream is truly unmatched. Not only do you get to indulge in rich, creamy flavors, but you also have control over the ingredients, ensuring a guilt-free treat. The ease of using the Ninja Creami makes this process even more enjoyable; you don’t need an ice cream maker or special skills.
So, whether you’re craving a sweet dessert after dinner or a refreshing snack on a hot day, I encourage you to give this recipe a try. It could become your go-to dessert! For more creative ideas, check out resources like Serious Eats or Food Network. Happy churning!
PrintNinja Creami vanilla ice cream recipe: Easy and Indulgent Homemade Treat
Enjoy a deliciously creamy and indulgent homemade vanilla ice cream made effortlessly with the Ninja Creami.
- Prep Time: 15 minutes
- Total Time: 24 hours 15 minutes
- Yield: 4 servings 1x
- Category: Dessert
- Method: Churning
- Cuisine: American
- Diet: Vegetarian
Ingredients
- 2 cups heavy cream
- 1 cup whole milk
- 3/4 cup granulated sugar
- 1 tablespoon pure vanilla extract
Instructions
- In a mixing bowl, combine heavy cream, whole milk, sugar, and vanilla extract.
- Whisk the mixture until the sugar dissolves completely.
- Pour the ice cream mixture into the Ninja Creami container.
- Freeze for 24 hours.
- After freezing, process the mixture in the Ninja Creami according to the manufacturer’s instructions.
- Serve immediately or return to the freezer for a firmer consistency.
Notes
- For a richer flavor, use more egg yolks in the base mixture.
- Consider adding mix-ins like chocolate chips or fruit during the last processing step.
Nutrition
- Serving Size: 1 cup
- Calories: 400
- Sugar: 30g
- Sodium: 60mg
- Fat: 30g
- Saturated Fat: 18g
- Carbohydrates: 35g
- Fiber: 0g
- Protein: 4g
- Cholesterol: 80mg
Keywords: Ninja Creami, vanilla ice cream, homemade treat